

OPNsense virtual machine. This post shows how to install OPNsense as a virtual machine on VMware ESXi
Finally, made the configuration able for access to the web GUI via WAN interface. This how to can also be used for provisioning using other virtualization platforms.
INSTALLATION
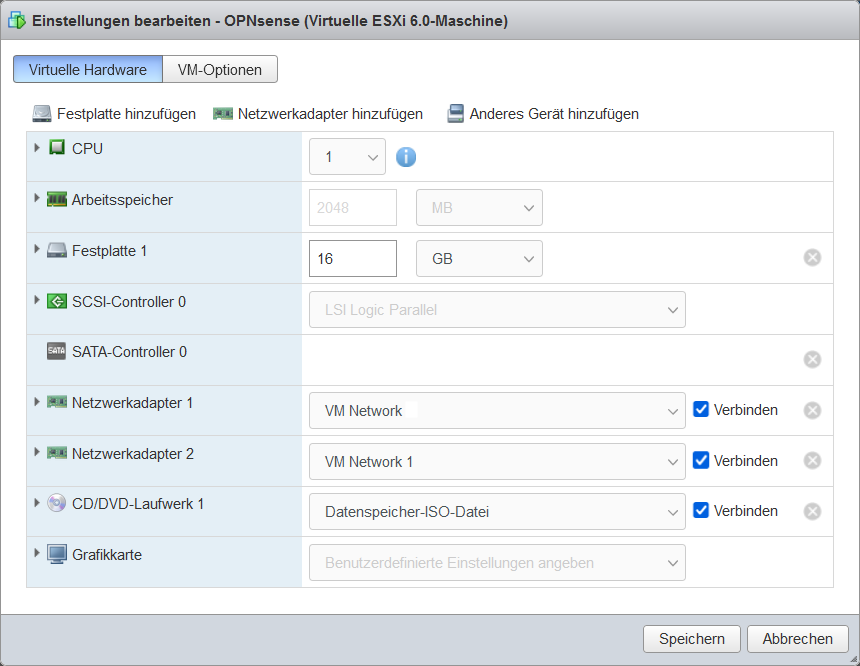
OPNsense can be downloaded as an ISO image here. Choose the image type: select dvd. Configure the hardware with at least 2 GB of RAM and 16 GB hard disk and two or more network adapters, choose as the operating system FreeBSD 64 bit.

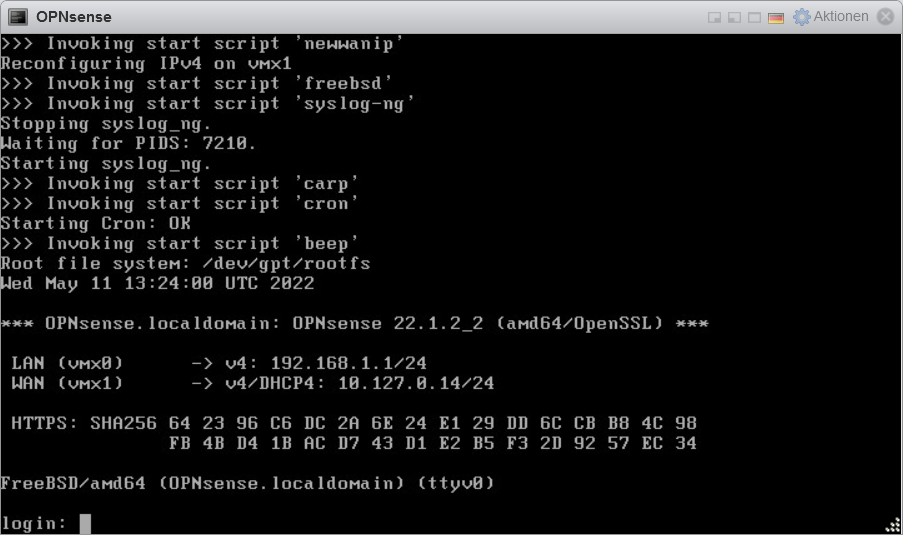
After switching on the OPNsense VM, the login screen appears.

After logging in as root with the password “opnsense”, the console main menu appears with options 0 – 13.
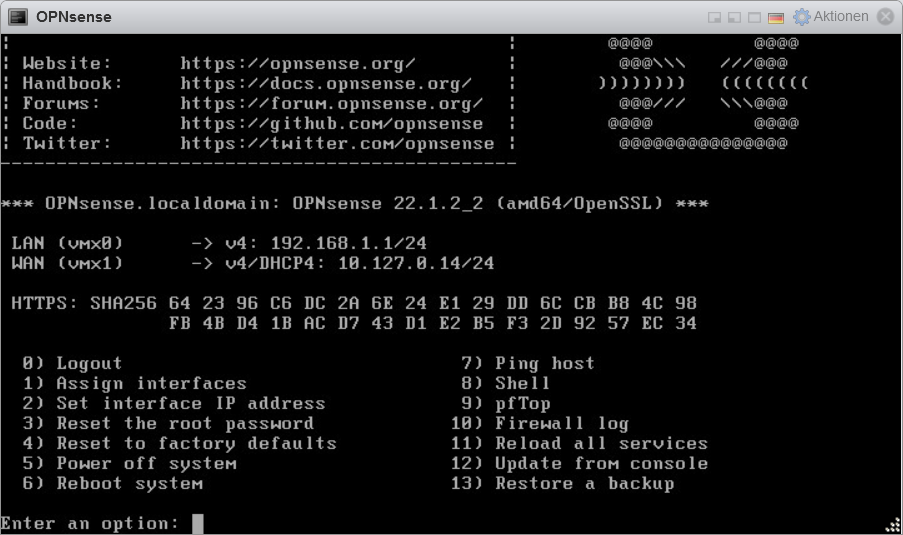
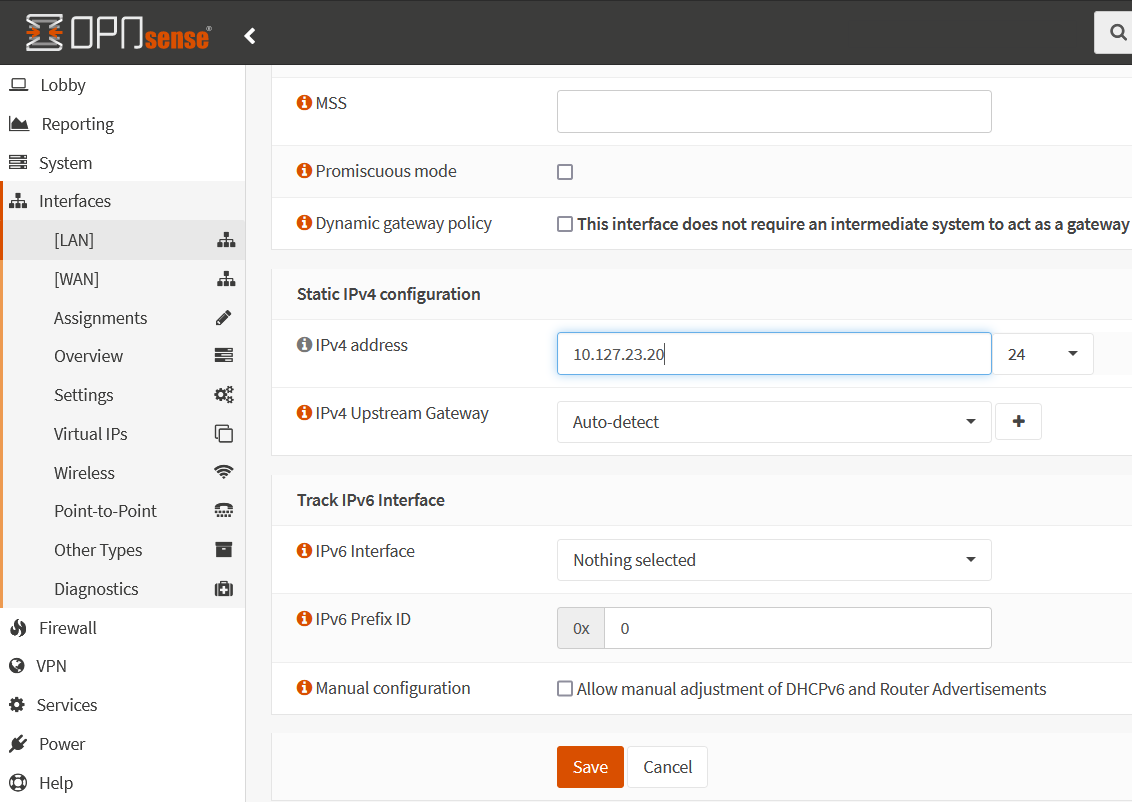
Select option 2 for Set interface IP address. Add your Static Public IPv4 address to WAN interface and enter the upstream gateway address.
The IPv4 configuration is entered as follows.
Enter the number of the interface to configure: 2

Configure IPv4 address WAN interface via DHCP? [Y/n] n

Enter the new WAN IPv4 address. Press <ENTER> for none:
> 108.156.231.190

Subnet masks are entered as bit counts (like CIDR notation).
e.g. 255.255.255.0 = 24
     255.255.0.0 = 16
     255.0.0.0 = 8

Enter the new WAN IPv4 subnet bit count (1 to 32);
> 28

For a WAN. enter the new WAN IPv4 upstream gateway address.
For a LAN. press <ENTER> for none:
> 108.156.231.177

Do you want to use the gateway as the IPv4 name server. Too? [Y/n] n
Enter the IPv4 name server or press <ENTER> for none:
> 1.1.1.1

Configure IPv6 address WAN interaces via DHCP6? [Y/n] n

Enter the new WAN IPv6 address. Press <ENTER> for none:
>

Do you want to change the web GUI protocol from HTTPS to HTTP [y/N] N
Do you want to generate a new self-signet web GUI certificate? [y/N] y
Restore web GUI access defaults? [y/N] N
The IPv4 configuration for the WAN interface is now complete. In the next step, the packet filter firewall must be temporarily deactivated, hit the number 8 for fire up the Shell and enter the command.
root@OPNsense:~ # pfctl -d
pf disabled
Now the OPNsense web GUI can be opened in a browser
Here in this example https://108.156.231.190

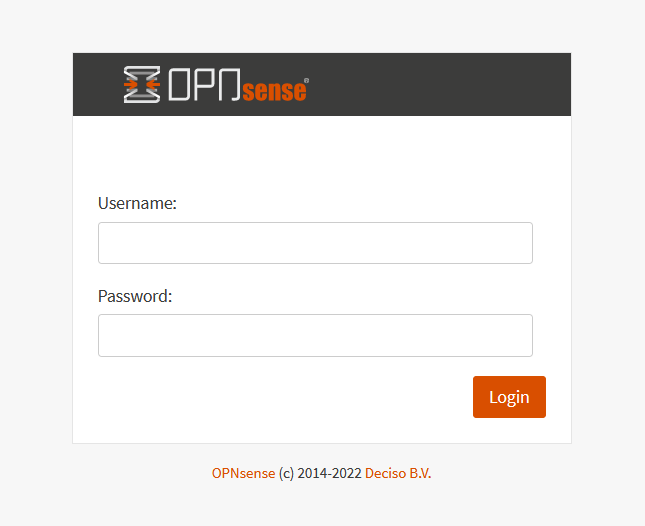
OPNsense Default Username root and Password opnsense
Now add a new rule, under Firewll – Rules – WAN by clicking on the plus (+) in the upper right corner.
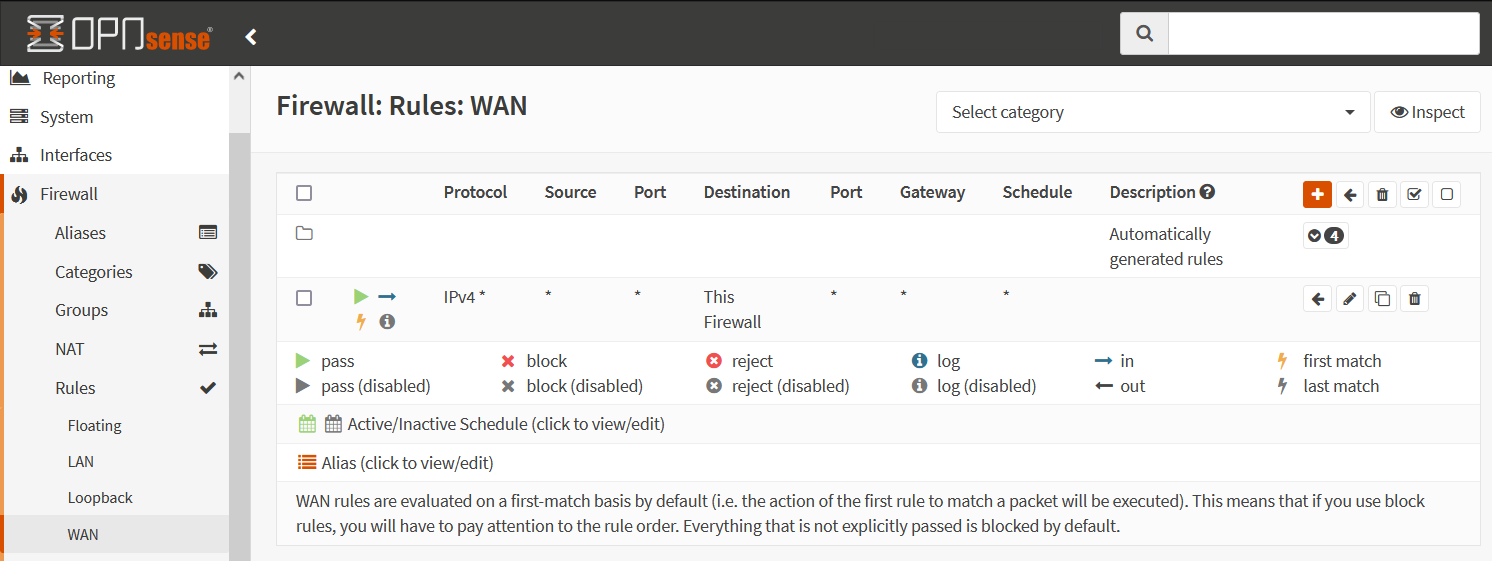
The rule is intended to allow incoming requests with pass for this firewall.
Important! after applying the new rule with “Apply changes”, the OPNsense must be restarted. This in the VM Console with 6 Reboot system.
Finally, additional interfaces, rules i.e. OpenVPN and more can be set up.

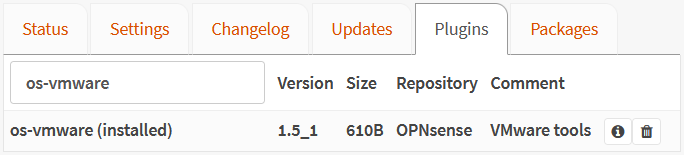
CAUTION! Don’t forget to change the root password now. The OPNsense allows 2FA authentication with TOTP and Google Authenticator, the post can be found here. It is also recommendit to install the VMware Tools, under System – Firmware – Plugins. To do this, you first have to go to the Status tab and click Check for updates.
VMware Tools Plugin
VMware Tools is a set of services and modules that enable multiple capabilities for better management of guest operating systems and seamless user interactions. For optimal performance, it is worth installing the os-vmware plugin under System – Firmware – Plugins

Troubleshooting
If you got tangled up when configuring, there is the possibility of resetting with the option 4) Reset to factory defaults. The OPNsense firewall will then be restarted and you will find yourself in the wizard for the basic setup, that after login with the default credentials. IP addressing of the interface can be carried out again here.
The next relevant post might also be helpful Access to OPNsense Web GUI via WAN after installation.