
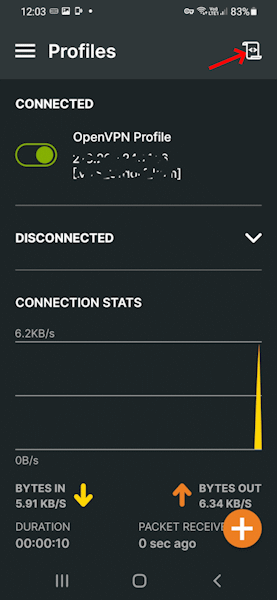
Here my experience using OpenVPN connection on iOS and Android mobile device. When you try to start a connection with the OpenVPN Connect App.
When you try to start a connection with OpenVPN Connect on your iOS or Android device, the VPN connection is established but no network resources can be reached, also you may find the error message in the OpenVPN server log;
Bad compression stub (swap) decompression header
Error openvpn_server1 user1/10.11.0.2:38767 Bad compression stub (swap) decompression header byte: 250
How to solve this issue, it comes to works perfectly with add options in the OpenVPN server configuration. I use here a Synology NAS and an OPNsense as a VPN server in this experience report.
allow-compression no
push "compress migrate"
This completely deactivates full and asymmetric compression, which is useful for functionality and secure communication with OpenVPN mobile clients. These finding can give valuable hints to make your users happy.
Note. The options are used to provision the OpenVPN clients, existing clients can continue to make VPN connections, the settings do not have to be changed manually.
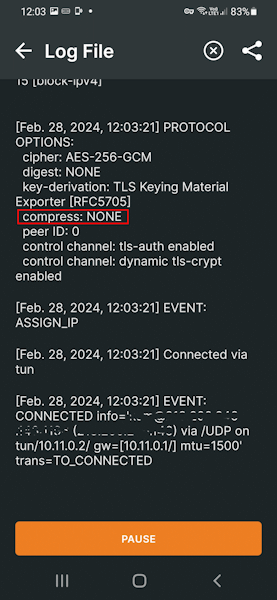
How do I know that no compression is in use?
You will find the statistics of the OpenVPN connection in the log file. This way you can also see the state of the compression, like in the screenshots below.
OpenVPN Connection to Synology NAS
I have an OpenVPN server package installed on my Synology NAS, and the OpenVPN client on my iPhone 15 (iOS 17.3.1) is able to connect to it over a cellular connection. FileBrowserGO is then able to connect to the Synology using the OpenVPN Server’s LAN IP address.
We have tried this with both a UDP and TCP based OpenVPN connection (forwarding port 1194) to the Synology NAS. I would recommend trying an IP Address in FileBrowserGO’s “Name or URL” field, to avoid the DNS lookup stage of the connection.
To prevent compression on the OpenVPN server on a Synology NAS, you can open the VPN server in DSM under OpenVPN and disable the option Use compression on the VPN connection. If you enable ssh then you can log in with an ssh terminal to open the configuration file.
$ sudo vi /usr/syno/etc/packages/VPNCenter/openvpn/openvpn.confOpenVPN Connect from iOS, Android to OPNsense
I went through it with another environment with deploy a virtual OPNsense using the OpenVPN Server. To do this, go to VPN -> OpenVPN -> open the corresponding server, here under Compression select “No Preference”, next add the two lines in the box under Advanced configuration, then save changes.

Restart the OpenVPN server again and launch a VPN connection with your iOS or Android mobile device.
