How To Protect WordPress against Brute-Force-Attacks using Fail2ban
WordPress itself does not offer any protection against brute force attacks. But there are several methods for protection, besides lock-down plugins they blocking IP addresses after every failed login attempt. Another way gives the kernel firewall controlled with Fail2ban. With it the suspicious host is locked out for a certain time.
To Protect your WordPress from Brute-Force-Attacks by Fail2ban, follow this install tutorial.
To install fail2ban on RHEL then the EPEL repository must be added. Debian provide fail2ban already in the default repository.
$ yum install epel-releaseThe installation here as root is as follows, a standard configuration is provided, and does not require any further adjustments:
$ yum install fail2ban -yOn Debian and Ubuntu Linux fail2ban is installed as follow.
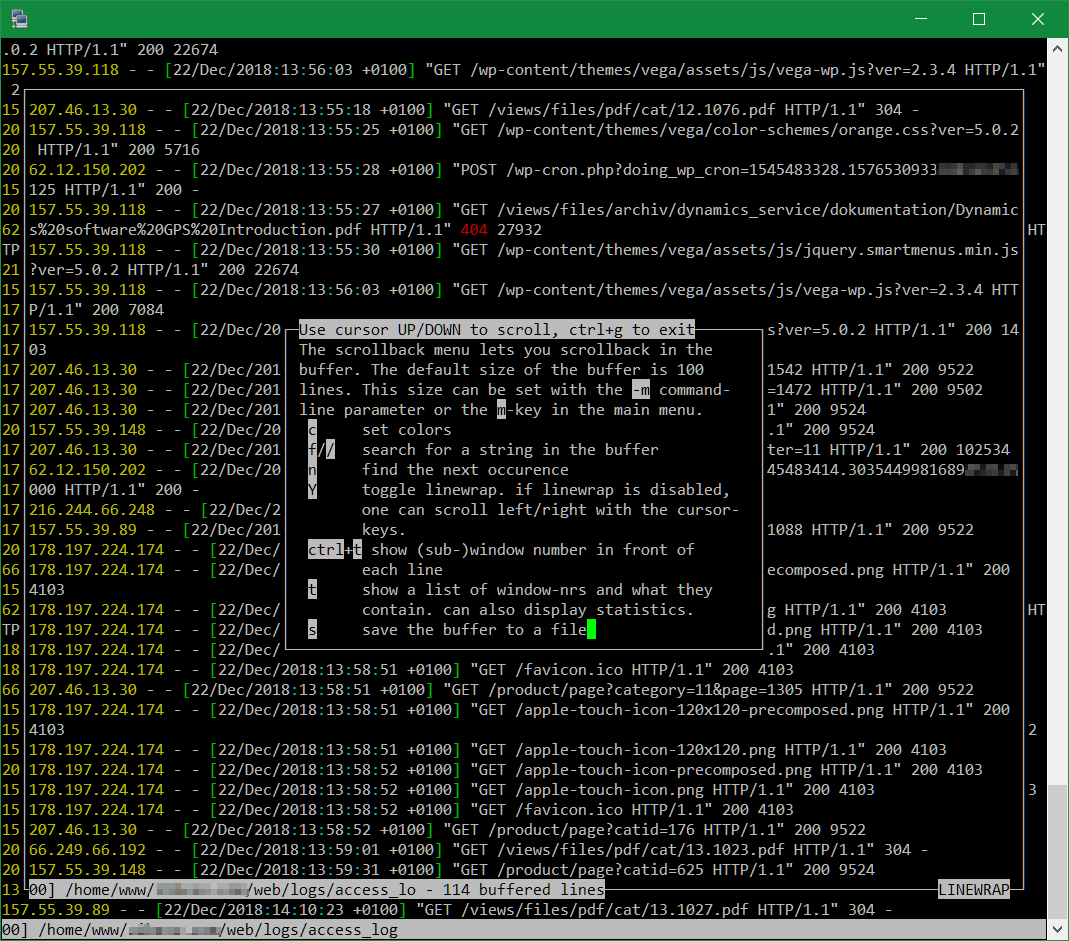
$ apt install fail2ban -yAfter fail2ban is installed on the server, the Apache access_log can be scanned for login attempts.
10.241.83.170 - - [02/Jul/2017:21:23:17 +0200] "POST /xmlrpc.php HTTP/1.1" 200 406
10.241.83.170 - - [02/Jul/2017:21:23:19 +0200] "GET /wp-login.php HTTP/1.1" 200 6387
10.241.83.170 - - [02/Jul/2017:21:23:19 +0200] "POST /wp-login.php HTTP/1.1" 200 6561
10.120.13.157 - - [02/Jul/2017:21:27:55 +0200] "POST /xmlrpc.php HTTP/1.1" 200 406
10.120.13.157 - - [02/Jul/2017:21:27:56 +0200] "GET /wp-login.php HTTP/1.1" 200 6440
10.120.13.157 - - [02/Jul/2017:21:27:56 +0200] "POST /wp-login.php HTTP/1.1" 200 6614
So that fail2ban knows which parsers to search for in the log file. The filter is created by editing with vim or other preferred editors. We create the filter file with use the command vi /etc/fail2ban/filter.d/wp-auth.conf
# WordPress brute force auth filter: /etc/fail2ban/filter.d/wp-auth.conf:
#
# Block IPs trying to auth wp wordpress
#
[Definition]
failregex = ^<HOST> .*"POST \/wp-login\.php HTTP\/.*$
            ^<HOST> .*"POST \/\/wp-login\.php HTTP\/.*$
            ^<HOST> .*"POST \/xmlrpc\.php HTTP\/.*$
            ^<HOST> .*"POST \/\/xmlrpc\.php HTTP\/.*$
ignoreregex =
The main configuration of fail2ban is located in the file /etc/fail2ban/jail.conf, this is copied to jail.local. Or you insert only the filter by add the configuration with vi /etc/fail2ban/jail.local
[wp-auth]
enabled = true
filter = wp-auth
action = iptables-multiport[name=AuthFailures, port="http,https"]
logpath = %(apache_access_log)s
bantime = 1800
maxretry = 5
After 5 login attempts (maxretry) is blocked for 30 min.
Before fail2ban is used, a look is given in /etc/fail2ban/jail.conf, under the section [INCLUDES] the paths of the currently used Linux distribution are defined at the line before = paths-distro.conf, here we use CentOS 7 and the appropriate file /etc/fail2ban/paths-fedora.conf
[INCLUDES]
before = paths-centos.conf
We copy the file paths-fedora.conf to paths-centos.conf. All logs should be read under /var/www/*/logs, adjusting the paths to the Apache logs if necessary.
# apache server log
apache_error_log = /var/log/httpd/*error_log
apache_access_log = /var/log/httpd/*access_log

# apache virtual hosts
apache_error_log = /var/www/*/logs/*error_log
apache_access_log = /var/www/*/logs/*access_log
Under Debian the following content is defined in /etc/fail2ban/jail.conf
[INCLUDES]
before = paths-debian.conf
Now restart fail2ban to activate the filter.
$ systemctl restart fail2banCheck fail2ban status as follows.
$ fail2ban-client status wp-authOutput the iptable status of the filter in the chain.
$ iptables -vnL | grep AuthFailuresThe iptables output of the filter AuthFailure follows about a lot.
Chain f2b-AuthFailures (1 references)
 pkts bytes target prot opt in out source destination
 252K 32M RETURN all -- * * 10.241.83.170/0 0.0.0.0/0
 232K 29M RETURN all -- * * 10.120.13.157/0 0.0.0.0/0
If you have locked yourself out by too many failed attempts and tests. You can unlock yourself again with the following command.
$ fail2ban-client set wp-auth unbanip 10.110.51.25The advantage of this method is that fail2ban blocks suspicious host for all services, many bots will usually go to the next website to continue try attacks, ssh and ftp requests also go nowhere while ICMP requests remain unanswered for the investigated IP address.