
This privacy error may be seen in your browser when an website is visited by using SSL Self-Signed Certificates. These often are internal web-sites of devices in your network.
Privacy error your connection isn’t private
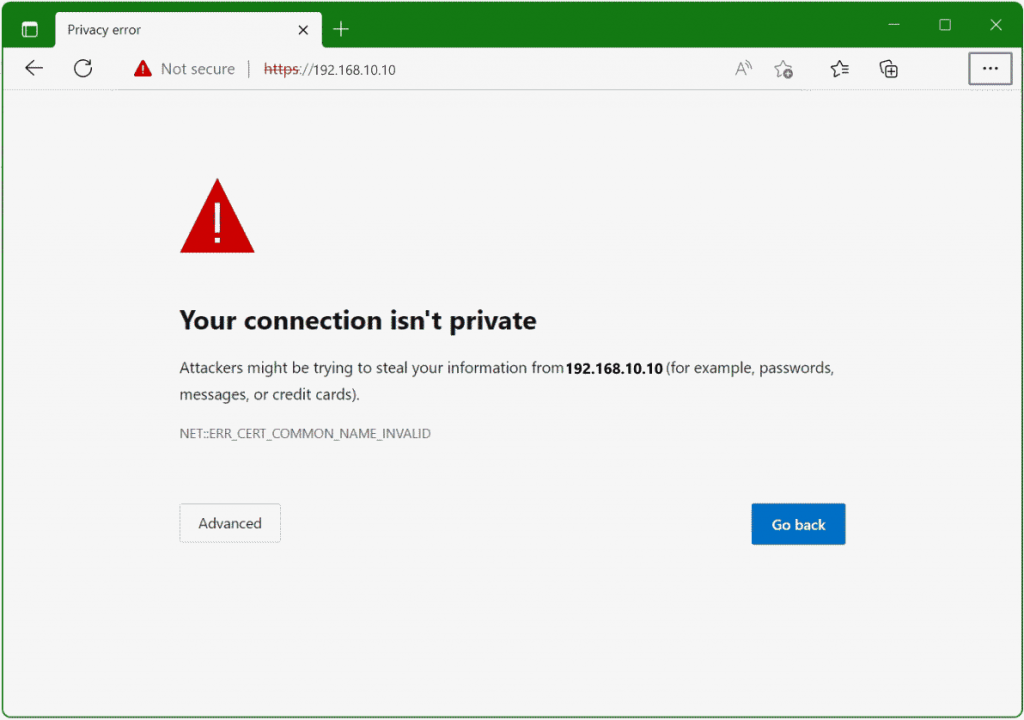
This error page can be seen in the browser when an https page is visited, often these are internal web-sites of devices in your own network, or because you have your own web server in your network, in order to develop web-sites or web-apps in the lab, certificates are required for SSL-encrypted web-sites. However, you may do not want to have the certificate created by a trusted Certificate Authority (CA) issuer, which brings unnecessary costs, except for a Let’s Encrypt certificate, which is free, but the web server for the Automatic Certificate Management Environment (ACME) check must be reachable from the internet, here it is sufficient to issue a self-signed certificate.
How to creating Self-Signed SSL Certificates
Creating a self-signed ssl certificate automated with import them to the Windows Certificate Store of the local computer. It prompts for a Common Name to create the self-signed certificate according to the URL.
$CommonName=Read-Host -Prompt 'Enter a Common Name (CN)'
if ($CommonName) {
	Write-Output "Self-Signed Certificate [$CommonName] processing.."
} else {
	Write-Warning -Message "Missing Common Name (CN)!"
	Break;
}
New-SelfSignedCertificate -DnsName "$CommonName" -CertStoreLocation "cert:\LocalMachine\My"
$pass=ConvertTo-SecureString "pass123" -AsPlainText -force
$file="$env:temp\$CommonName.pfx"
$thumbprint=Get-ChildItem -Path Cert:\LocalMachine\MY | Where-Object {$_.Subject -Match "$CommonName"} | Select-Object Thumbprint -ExpandProperty "Thumbprint"
Export-PFXCertificate -cert cert:\LocalMachine\My\"$thumbprint" -file $file -Password $pass
Import-PfxCertificate -FilePath $file cert:\LocalMachine\root -Password $pass
Run this commands in a PowerShell opened as administrator. The certificate you just issued can now be found in the Certificate Manager (CERTLM.MSC) Microsoft Management Console (mmc) under Trusted Root Certification Authorities and in Personal certificates.
Note. Set the PowerShell Execution Policy from Restricted to RemoteSigned or Unrestricted to allow local PowerShell scripts to run.
PS C:\> Set-ExecutionPolicy RemoteSignedConfiguring SSL with the IIS PowerShell Snap-in
The acquisition of certificates is not a simple matter and cannot be made without an issuer. The users of your web-site have to trust the certificate and that’s why you have to get it from a trusted Certificate Authority. For testing purposes you can deploy your own certificate however. For this walkthrough we will use a so-called self-signed certificate.
Now lets use the IIS PowerShell Snap-in to create an SSL binding and associate it with the certificate we just created.
Creating an Self-Signed SSL Certificates Binding
We are adding the SSL binding to the Default Web Site using one of the task-based cmdlets called New-WebBinding. First you need to import the WebAdministration module gained when installing the Web-Server Windows feature.
PS C:\> Import-Module WebAdministration
PS IIS:\> New-WebBinding -Name "Default Web Site" -IP "*" -Port 443 -Protocol https
You can check the binding collection using the following command.
PS IIS:\> Get-WebBinding 'Default Web Site'Assign the Certificate to IP:Port of the IIS Binding
You can CD into the IIS:\SslBindings directory and query the existing SSL bindings. The directory will be empty on an IIS default install.
PS IIS:\> cd IIS:\SslBindings
PS IIS:\SslBindings> gci
Now you can use the certificate thumbprint we got in the previous step to associate it with all IP addresses (0.0.0.0) and the SSL port 443.
PS IIS:\SslBindings> get-item cert:\LocalMachine\MY\"$thumbprint" | new-item 0.0.0.0!443The previous command displaying the following SSL Binding.
IP Address       Port Store            Sites
----------       ---- -----            -----
0.0.0.0          443  My               Default Web Site
SSL is ready to go now and you can browse to your site by entering.
https://localhost


