
SMB: Unable to access windows share using SMBv1 1.0/CIFS Client Server
Microsoft announcement of 01.07.2020.
Windows 10 Fall Creators Update and Windows Server, version 1709 (RS3) and later versions, the Server Message Block Version 1 (SMBv1) network protocol is no longer installed by default. The Windows SMB (SMBv1) protocol has been replaced by SMBv2 and newer protocols (SMBv3) since 2007. Microsoft publicly rejected the SMBv1 protocol in 2014.
Windows SMB v1 has vulnerabilities that allow remote code execution or denial-of-service attacks. Therefore it should be deactivated. Windows 10 Enterprise and Windows Server 2016 no longer includes the SMB v1 client or SMBv1 server by default after a new installation.
Windows 10 Home and Windows 10 Pro still contain the SMBv1 client by default after a new installation. If the SMBv1 client is not in use for a total of 15 days (except for the computer that is turned off), it is automatically uninstalled.
SMBv1 can still be reinstalled in all editions of Windows 10 and Windows Server 2016.
Enable SMBv1 using the MSC method
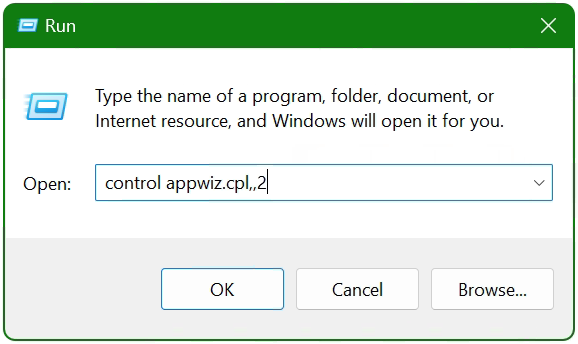
The SMBv1 network protocol can be activated on Windows 10 and Windows 11 with the Windows+R and the input of control appwiz.cpl,,2 in the Windows Features window.
Open Windows-Features of Windows 10 / Windows 11.
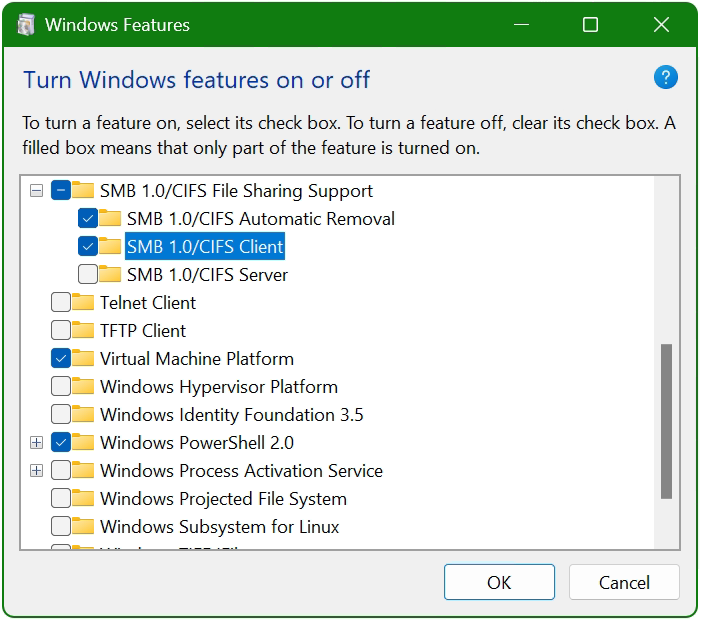
Check windows feature with support for SMB 1.0/CIFS file sharing check boxes:
– SMB 1.0/CIFS Automatically remove
– SMB 1.0/CIFS client
The SMB 1.0/CIFS client will remain activated as long as it is used, if no activity is detected during the 15 days. SMBv1 will deactivate itself for security reasons.
PowerShell method enable SMBv1
Enable SMB 1.0/CIFS in the PowerShell as follows, administrator rights are required.
PS C:\> Enable-WindowsOptionalFeature -Online FeatureName SMB1ProtocolCheck the status of SMBv1 in the PowerShell.
PS C:\> Get-WindowsOptionalFeature -Online -FeatureName SMB1ProtocolDisable the Windows SMB SMBv1 network protocol in the PowerShell
PS C:\> Disable-WindowsOptionalFeature -Online FeatureName SMB1ProtocolThe computer must be restarted after these changes are made.
If you want to automatically remove the feature SMB 1.0/CIFS, probably from a login script. The method is suitable with using Deployment Image Servicing and Management (DISM).
PS C:\> Dism /online /Disable-Feature /FeatureName:"SMB1Protocol" /NoRestartThe feature SMB 1.0/CIFS client and server are removed without prompting any user interaction, administrator rights are required; the change will take effect the next time the client is started.
Conclusion
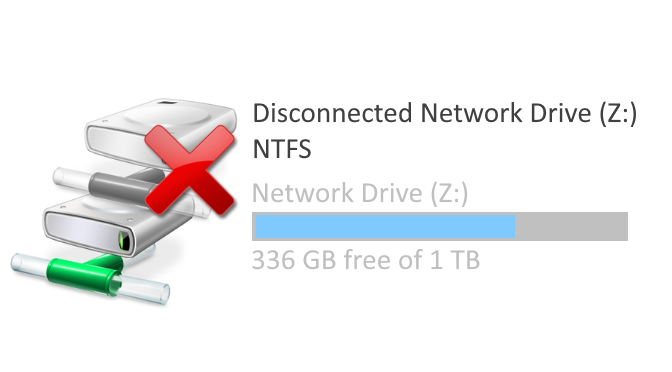
This tutorial shows what to do if you get the error message “Unable to access windows share” after trying to access a file share. This error message first appears after the Windows 1709 update has been applied.
I’ll show you what to do how to enable SMB 1.0/CIFS protocol. To become access to windows share using SMBv1 1.0/CIFS Client Server.


