Grub Boot Menu Startreihenfolge

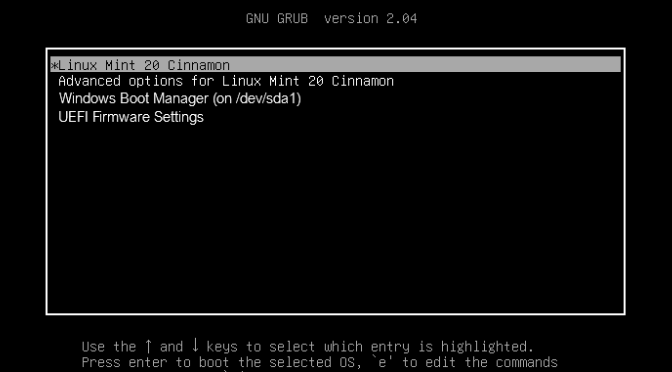
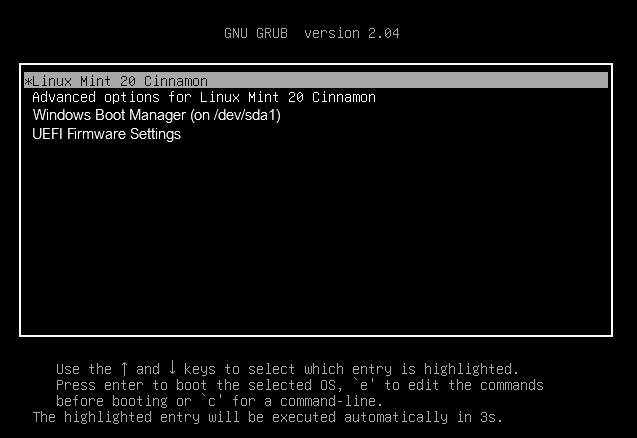
Grub Boot Menu Startreihenfolge ändern bei Linux Mint und Ubuntu

Grub bei dualen Startvorgänge wo mehrere Linux Betriebssysteme oder Linux und Windows mit dem Grub Boot Menu Manager installiert ist, zieht man es möglicherweise vor, die Startreihenfolge oder den Standard-Starteintrag gelegentlich zu ändern, sodass das am häufigsten verwendete Betriebssystem standardmäßig zuerst ausgewählt wird.

Angenommen es ist Dual-Boot mit Windows und Linux Mint, dieses standardmäßig zuerst bootet, nun möchten wir stattdessen Windows starten ohne das eine Auswahl zu treffen ist.

Startreihenfolge im Grub Menü ändern

Die Startreihenfolge im Grub Boot Menu ändern kann man in der grub Datei mit öffnen in einem Editor deiner Wahl.

$ sudo nano /etc/default/grub

Suche den Eintrag.

GRUB_DEFAULT=0

Ändere den Eintrag.

GRUB_DEFAULT=2

Anmerkung:
Der Index beginnt bei 0, demzufolge ist Windows Nummer 2

Speichere die Datei und verlasse den Editor durch Drücken von Strg + O dann Strg + x um nano zu beenden.

Grub aktualisieren

Aktualisiere nun grub mit diesem Befehl.

$ update-grub

Fertig! Computer neu booten und die neue Startreihenfolge prüfen.

Grub Boot Menu Startreihenfolge ändern
Abbildung: Grub Boot Manager

Linux-Boot-Prozess

Der Startvorgang unter Linux besteht aus einer Reihe von Aktivitäten, die vom Drücken des Netzschalters am PC bis zum Erscheinen des Anmeldebildschirms stattfinden.

Der Startvorgang des Betriebssystems besteht aus vier Hauptphasen, die in der folgenden Reihenfolge ablaufen:

BIOS: Basic Input/Output Systemm

BIOS: Steht für Basic Input/Output System und ist hauptsächlich für das Laden des Bootloaders verantwortlich. Wenn der Computer startet, führt er einen Power On Self Test (POST) durch, um sicherzustellen, dass Kernhardware wie Speicher und Festplatte ordnungsgemäß funktioniert. Anschließend überprüft das BIOS den Master Boot Record (MBR) der primären Festplatten. Hierbei handelt es sich um einen Abschnitt auf Ihrer Festplatte, in dem sich der Bootloader befindet.

Bootloader

Bootloader: Lädt den Kernel mit einer Reihe von Kernel-Parametern in den RAM.

Linux Kernel

Kernel: Die Hauptfunktion des Kernels besteht darin, Geräte und Speicher zu initialisieren. Anschließend wird der Init-Prozess geladen.

Init-Prozess

Init: Verantwortlich für das Starten und Stoppen wichtiger Dienste auf dem System.

FortiOS CVE-2018-13379 Advisory FG-IR-18-384

Allegedly, many admins did not update their FortiGate VPNs, so that attackers attack systems. The reason is the exploit code for the vulnerability (CVE-2018-13379) from 2019 that has now emerged.

Successful attacks on the SSL-VPN configured FortiOS should be made possible by sending prepared HTTP requests. Attackers could access system files and thus gain access to unencrypted access data, for example. They could then log into vulnerable VPN firewalls and compromise them.

FortiOS, which is used on FortiGate firewalls, has a total of six security holes in several versions of the Security Network operating system that affect the SSL-VPN web portal. Fortinet has published the FortiGuard Security Advisories with update notes.

FortiGuard PSIRT Advisory

Der original Textauszug:

FortiOS system file leak through SSL VPN via specially crafted HTTP resource requests

Summary

A path traversal vulnerability in the FortiOS SSL VPN web portal may allow an unauthenticated attacker to download FortiOS system files through specially crafted HTTP resource requests.
Impact

Information Disclosure
Affected Products
FortiOS 6.0 – 6.0.0 to 6.0.4
FortiOS 5.6 – 5.6.3 to 5.6.7
FortiOS 5.4 – 5.4.6 to 5.4.12
(other branches and versions than above are not impacted)
ONLY if the SSL VPN service (web-mode or tunnel-mode) is enabled.
Solutions

Upgrade to FortiOS 5.4.13, 5.6.8, 6.0.5 or 6.2.0 and above.

Workarounds:

As a temporary solution, the only workaround is to totally disable the SSL-VPN service (both web-mode and tunnel-mode) by applying the following CLI commands:

config vpn ssl settings
unset source-interface
end

Note that firewall policies tied to SSL VPN will need to be unset first for the above sequence to execute successfully.

As an example, when source-interface is „port1“ and SSL VPN interface is „ssl.root“, the following CLI commands would be needed to ensure „unset source-interface“ executes successfully:

config vpn ssl settings
config authentication-rule
purge (purge all authentication-rules)
end
end

config firewall policy
delete [policy-id] (SSL VPN policy ID(s) that srcintf is „ssl.root“ and dstintf is „port1“)
end

Note that code to exploit this vulnerability in order to obtain the credentials of logged in SSL VPN users was disclosed. In absence of upgrading to the versions listed above, mitigating the impact of this exploit can be done by enabling two-factor authentication for SSL VPN users. An attacker would then not be able to use stolen credentials to impersonate SSL VPN users.