


Die Installation von phpSysInfo auf Debian und Ubuntu
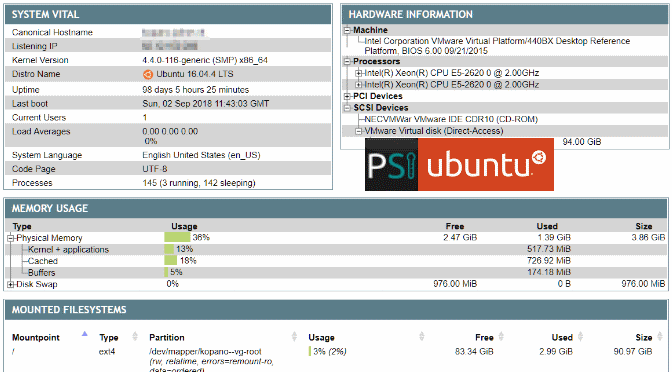
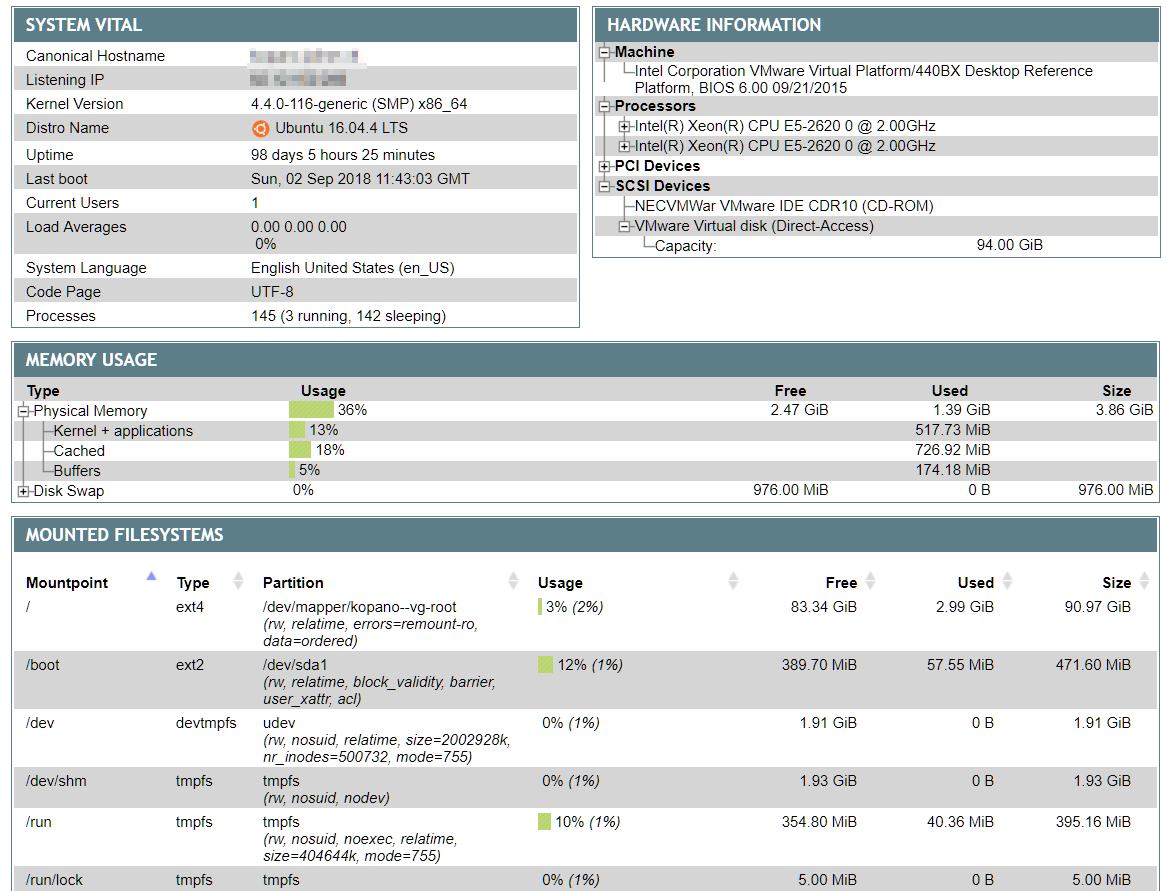
PSI – phpSysInfo zeigt System Status Informationen übersichtlich in einer PHP-Webseite
INSTALLATION
Die Installation von phpSysInfo kann mit Copy Paste der folgenden Zeilen in einer Terminal Console durchgeführt werden:
cd /tmp
curl -L https://github.com/phpsysinfo/phpsysinfo/archive/v3.3.2.tar.gz | tar zxv
mv /tmp/phpsysinfo-3.3.2/phpsysinfo.ini.new /tmp/phpsysinfo-3.3.2/phpsysinfo.ini
sudo mv phpsysinfo-3.3.2 /var/www/html/phpsysinfo
Auf Github ist jeweils das letzte phpSysInfo Release verfügbar.
Die phpSysInfo Seite durch Benutzeranmeldung und Passwort schützen, über die Apache-htaccess Authentifizierung.
$ sudo htpasswd -c /etc/apache2/.htpasswd [username]Ein gewünschter Benutzer [username] und ein Passwort anlegen, und es sich merken, wird später für die Anmeldung benötigt.
Der Vorgang sieht etwa wie folgt aus, mit Beispiel Benutzer homer.
$ sudo htpasswd -c /etc/apache2/.htpasswd homer
New password:
Re-type new password:
Adding password for user homer
Die Apache Zusatzkonfiguration mit der Konfigurationsdatei in das Verzeichnis „/etc/apache2/sites-available/“ erstellen:
sudo cat <<EOF > /etc/apache2/sites-available/phpsysinfo.conf
<VirtualHost *:80>
    ServerAdmin webmaster@domain.com
    ServerName domain.com
    ServerAlias phpsysinfo.domain.com
    DocumentRoot /var/www/html/phpsysinfo
    ErrorLog ${APACHE_LOG_DIR}/error.log
    CustomLog ${APACHE_LOG_DIR}/access.log combined
Alias /phpsysinfo /var/www/html/phpsysinfo
# Authorization use Apache 2.2
<Location /var/www/html/phpsysinfo>
    AuthUserFile /etc/apache2/.htpasswd
    AuthName LOGIN
    AuthType Basic
    require valid-user
    Satisfy any
    Options None
    Order deny,allow
    Deny from all
    Allow from 127.0.0.1
    Allow from ::1
</Location>
# Authorization use Apache 2.4+
 <Directory /var/www/html/phpsysinfo>
    AuthType Basic
    AuthName "LOGIN"
    AuthBasicProvider file
    AuthUserFile "/etc/apache2/.htpasswd"
    Require user [username]
    # Require ip [address]
 </Directory>
 <files phpsysinfo.ini>
 # Deny all requests from Apache 2.4+
     <IfModule mod_authz_core.c>
         Require all denied
     </IfModule>
 </files>
</VirtualHost>
EOF
Zielen mit Copy Paste in Terminal einfügen, damit wird die Apache VirtualHost Konfiguration bereitgestellt.
Stelle sicher, dass in der php.ini der safe_mode auf off gesetzt ist.
Anstelle von Domain.com den im DNS tatsächlich vorhandene Domainname einsetzen.
Nachdem wir unseren virtuellen Host erstellt haben, muss dieser aktiviert werden, dazu stellt Apache das a2ensite-Tool bereit, damit unsere Website wie folgt aktivieren:
$ sudo a2ensite phpsysinfo.confFertig, jetzt muss nur noch der Apache Webserver neu gestartet werden, damit die Änderungen wirksam werden:
$ sudo systemctl reload apache2Aufrufen mit http://ip-oder-hostname/phpsysinfo
Benutzer und Passwort dieses zuvor mit htpasswd erstellt wurde.
Quellen Link phpsysinfo
ANFORDERUNGEN
PHP 5.1.3 oder höher mit der Erweiterung SimpleXML, PCRE, XML und DOM.
Empfohlene Extensions:
mbstring: Required for *nix non UTF-8 systems
com_dotnet: Required for Windows environments
xsl: Required for static mode
json: Required for bootstrap mode
AKTUELLE GEPRÜFTE PLATTFORMEN
Linux 2.6+
FreeBSD 7+
OpenBSD 2.8+
NetBSD
DragonFly
HP-UX
Darwin / Mac OS / OS X
Windows 2000 / XP / 2003 / Vista / 2008 / 7 / 2011 / 2012 / 8 / 8.1 / 10 / 2016 / 2019
Android
BEKANNTE PROBLEME
phpSysInfo ist nicht kompatibel mit SELinux.
SELinux auf disabled setzen, mit ausführen folgender Zeile wird /etc/selinux/config geändert und der Server anschließend rebootet.
$ sudo sed -i 's/^SELINUX=.*/SELINUX=disabled/g' /etc/selinux/config && cat /etc/selinux/config && sudo systemctl reboot