Backup replication with Hyper Backup and rsync
Synology Hyper Backup enables versatile use in data backup applications. In case of requests in these, the secured data should also be stored on another NAS, for example for the worst-case scenario, in case of fire or water damage in the server room, precautions are taken. There is the possibility to synchronize the backup storage with a second NAS, preferably in another building, or if there is the possibility to be located in a different location.
This article shows the structure of data synchronization between two NAS. The data backed up with Hyper Backup on the RackStation is synchronized with a DiskStation that is on the same network but is installed in another building.
To start, rsync is enabled on the external DiskStation, under Enable data services – rsync – rsync service.

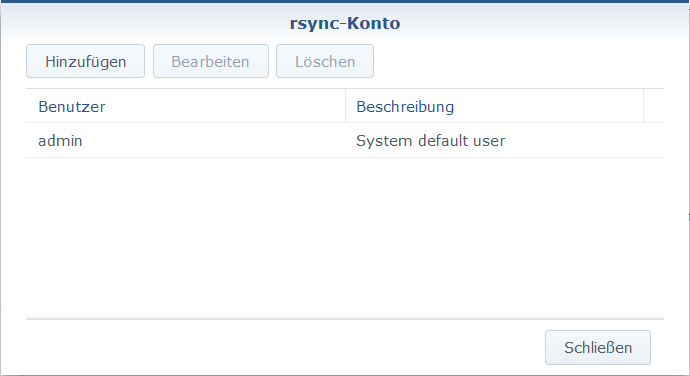
For rsync account enable the Edit rsync account button and add a user.

Now with the RackStation, which runs the Hyper Backup backup, open the Hyper Backup app and create a new backup task by clicking on (+) Plus.

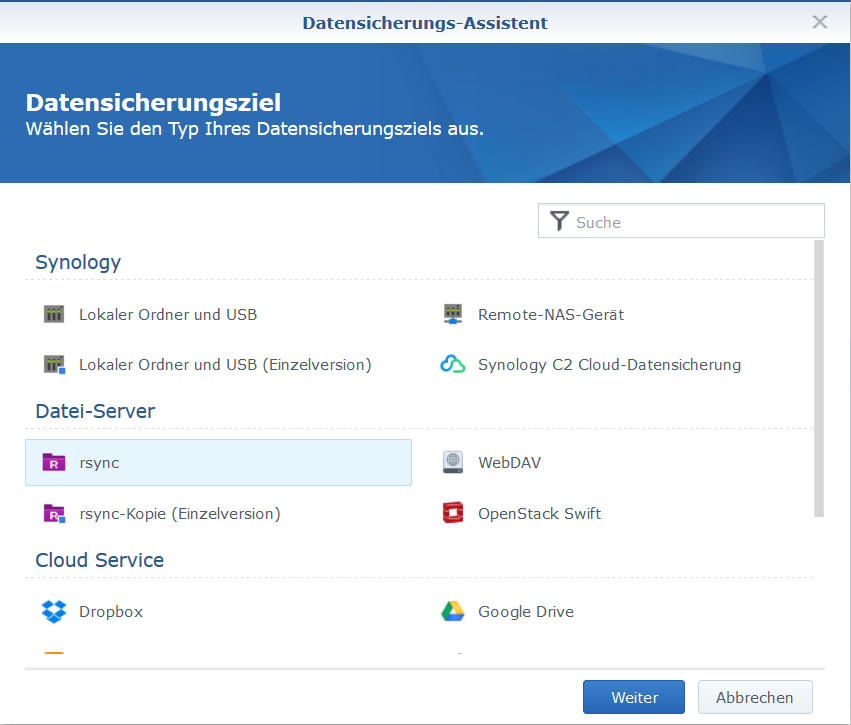
The Hyper Backup Backup Wizard is opened, as a backup destination under File Server you select rsync and click on next.

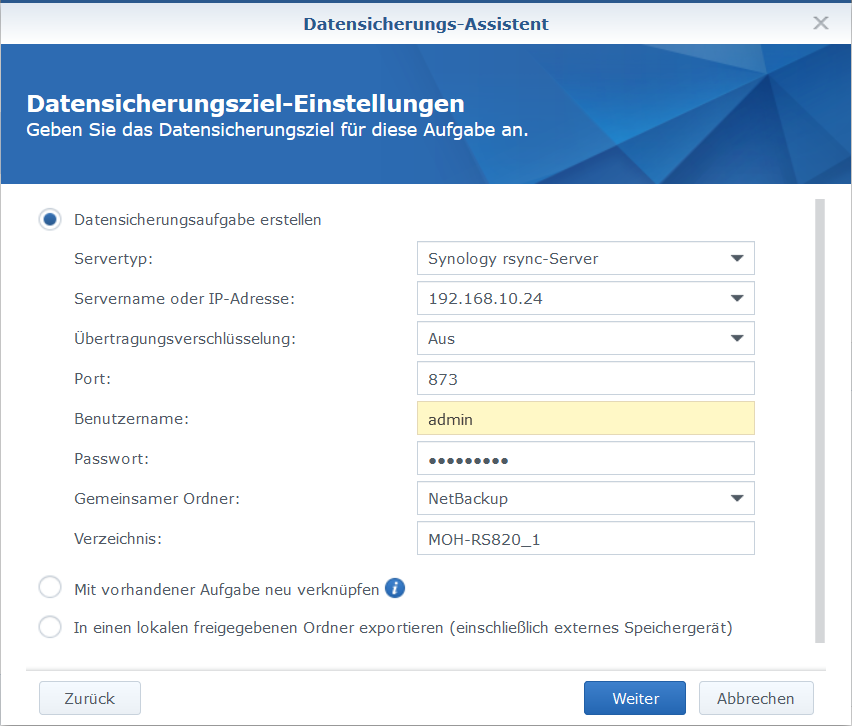
Create a backup task with a server name or IP address as the backup destination, enter user name and password, choose the shared folder and a directory.

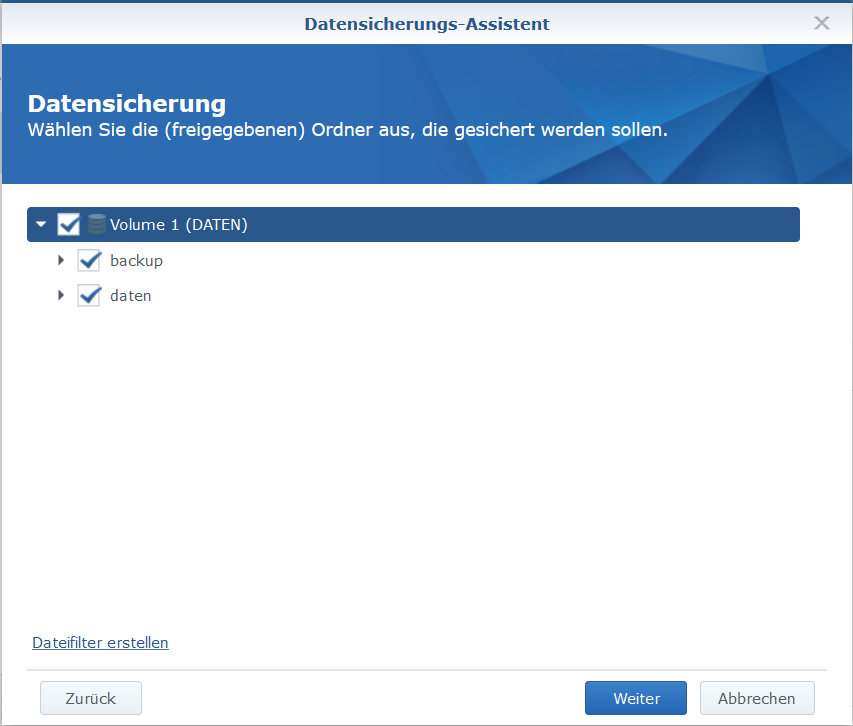
Shares can be selected to be saved.

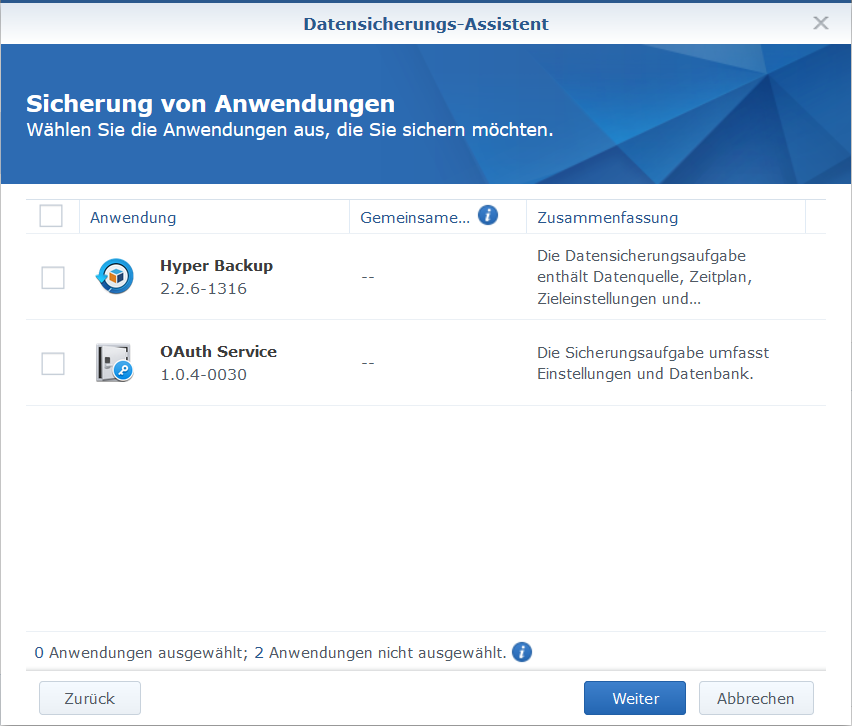
If you want to back up applications, they can be selected, this is not required for synchronization.
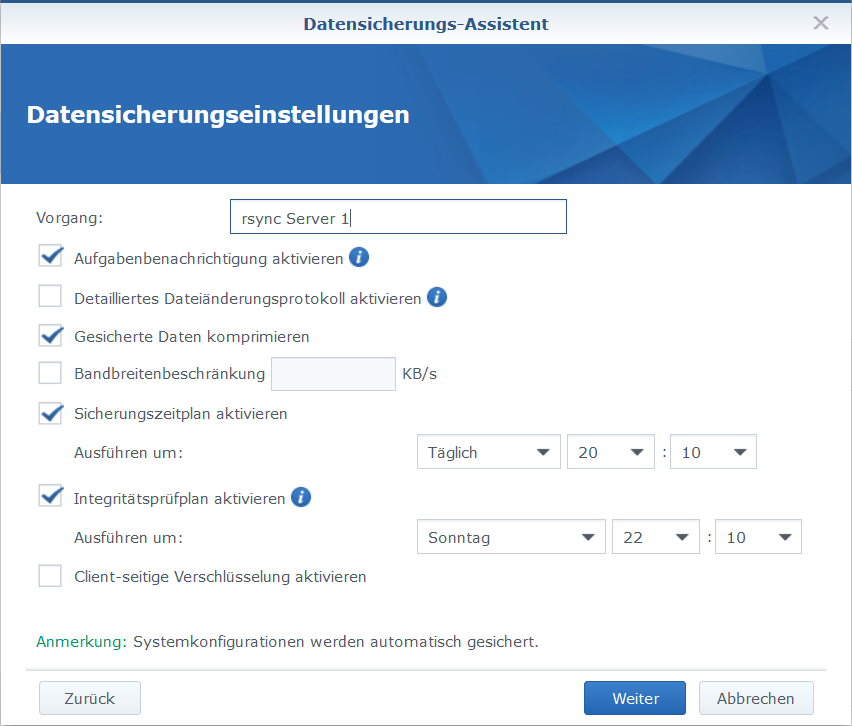
Backup settings define the task notification and backup schedule.
Rotation settings can define backup rotation, with backup schedule and rotation scheme for a desired number of retained versions.

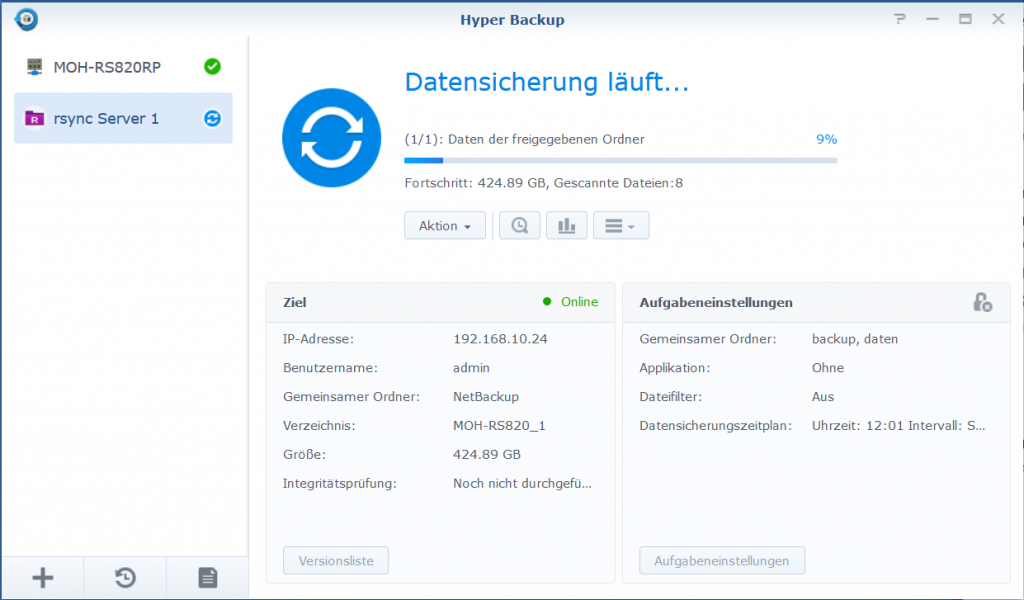
From the DSM on the RackStation, the first backup to the second NAS can now be made. The backup task can be added to an existing task, or a new backup task can be created, and it is recommended that you allow sufficient time between the two jobs to ensure that the second job is not started until the first backup is complete.

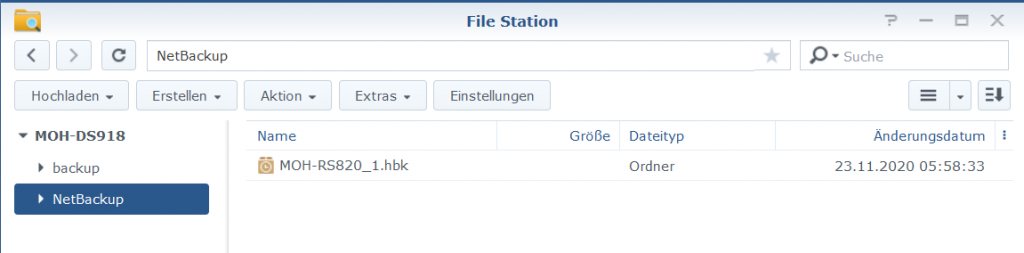
When DiskStation receives the synchronized data, the Hyper Backup backup appears as an hbk folder, the folder can be opened with a deflator click, for which Hyper Backup must be installed.