This post shows how Kopano users current store size is by displayed in the console. Admins who manage Kopano Groupware servers, they need to know what users are causing storage quotas.
How to show current Kopano store size of a user
Let’s say we want to know how the current storage usage of a Kopano user in an organization looks like. Usually we will run this command:
$ kopano-admin --details kate@middleton.org
This will show us all the details about the user.
Object id:              5
Extern id:              \313\332\306\30\336\325G)\263\356\275;s\324\237z
Username:               kate@middleton.org
Fullname:               Kate Middleton
Emailaddress:           kate@middleton.org
Active:                 yes
Administrator:          yes
Address book:           Visible to current user
Auto-accept meeting req:no
MDB provider:           KOPANO_STORE_DELEGATE_GUID
Store GUID:             0E79B76316F0491F9A8C4BFE1C1F1592
Out Of Office:          disabled
Server version:         8.7.25
Mapped properties:
        PR_EC_ENABLED_FEATURES  mobile; outlook; webapp
        PR_EC_DISABLED_FEATURES imap; pop3
Current user store quota settings:
 Quota overrides:       no
 Warning level:         1024.00 MB
 Soft level:            2048.00 MB
 Hard level:            3072.00 MB
Current store size:     231.10 MB
Groups (1):
        Everyone
Show current Kopano store size of all users
If there are more than a couple of users, another adequate solution must be found. It makes sense to create a simple bash script in which we run kopano-admin in a for loop:
#!/bin/bash
for user in $(kopano-admin -l | sed -n 5,1000p | cut -f 2 | sort)
do
    kopano-admin --details $user | grep -E 'Emailaddress|Current store size|Last logon'
done
When use Kopano in a multi-tenancy environment, then the company sections must be processed, e.g. with the query and variable assignment:
The result shows us all the companies listed in a usable format, right as an option in the next commands.
Finally, the next for loops show the current store size of all users in each multi-tenancy company:
#!/bin/bash
for comp in $(kopano-admin --list-companies | sed -n 4,1000p | cut -f 2)
do
    echo "Company $comp"
    for user in $(kopano-admin -l -I "$comp" | sed -n 5,1000p | cut -f 2)
    do
        kopano-admin -l --details "$user" | grep -E 'Emailaddress|Current store size'
    done
done
As a pattern, grep with -E option can add further patterns, desired patterns can be inserted separately with pipe, e.g. Current user store quota settings like Warning level and Soft level or Hard level.
Company middleton.org
Emailaddress:           kate@middleton.org
Current store size:     231.10 MB
Company dukedom.org
Emailaddress:           charles@dukedom.org
Current store size:     694.71 MB
Emailaddress:           meghan@ducedom.org
Current store size:     1195.14 MB
The output of a multi-tenancy server looks something like this.
in additions
To get just an overview, the --user-count option gives the output.
$ kopano-admin --user-count -v -v -v -v -v -v
[debug  ] Initializing provider "Kopano Directory Service"
[debug  ] Initializing provider "Private Folders"
[debug  ] Initializing provider "Public Folders"
User counts:
                        Allowed         Used    Available
        --------------------------------------------------------
        Active          no limit        1034    -
        Non-active      no limit        17      -
          Users                         0
          Rooms                         12
          Equipment                     2
        Total                           1065
Finally a very useful command is kopano-stats – they Dump kopano statistics tables, try it now.
$ kopano-stats --top
The output may look something like this.
Last update: Wed Aug  9 15:58:45 2023 (1.0s since last)
Sess: 114   Sess grp: 39      Users: 18   Hosts: 1    CPU: 1%   QLen: 0  QAge: 0.000 RTT: 0 ms
SQL/s SEL:    0 UPD:   0 INS:   0 DEL:   0        Threads(idle): 0(8)      MWOPS: 0  MROPS: 0         SOAP calls: 12

VERSION USERID                   IP/PID          APP                 TIME    CPUTIME CPU    NREQ   STAT TASK
8.7.0   SYSTEM                   14579           stats/8.7.0(kopano- 0:00    0:00    1      7      P    tableQueryRows
8.7.0   SYSTEM                   642             spooler:system/8.7. 0:00    0:00    0      0
8.7.0   SYSTEM                   642             spooler:system/8.7. 0:09    0:18    0      0
8.7.0   think@unblog.net                         Android-SAMSUNG-SM- 0:00    0:00    0      0
8.7.0   kate.middleton@foo.org                   Outlook-iOS-Android 0:00    0:00    0      0
8.7.0   prince.william@foo.org                   Outlook/16.0 (16.0. 0:00    0:00    0      0
Kopano tutorial to install on Debian 11 (Bullseye). The open source collaboration suite for e-mail and calendar server allows the greatest possible control over the data. The services cover the majority of communication needs in a organisation. A Kopano server is an alternative to the offerings that run as cloud services under the control of the providers.
KC is installed on Debian 11 (Bullseye) in this tutorial and requires a subscription key, this serial key is available from Kopano BV for a small fee. It includes deploying Konpano Core along with the WebApp and Z-Push packages using the Apache2 web server. Depending on the speed of your internet access, provisioning takes less than 10 minutes. Let’s start by adding the KC repository, which requires your valid KC subscription key.
I prefer root through system deployments (“su -“), many also use sudo, the commands shown here are processed without sudo. Ubuntu allows become root (“sudo su -“), choose your preferred approach.
In the pre-setting, the following packages can provisioned from the Debian Standard Repository.
Note. you will see the message: Warning: apt-key is deprecated. Manage keyring files in trusted.gpg.d instead (see apt-key(8))..
The clue wants to tell us that the command apt-key is deprecated, but don’t worry, it’s still valid during the transition period at the time this tutorial was written. If you want to be sure, you can use this command to check if the Kopano public key are added.
$ apt-key list | grep -B 4 Kopano
Enable the newly added Repository.
$ apt update
The server is now preconfigured and processing continues with install MariaDB and the Kopano server.
$ apt install -y mariadb-server kopano-*
Adding a SQL database user for the Kopano Store. the database has already been created by the installation script.
$ mysql
CREATE USER 'kopano'@'localhost' IDENTIFIED BY 'password';
GRANT ALL PRIVILEGES ON kopano.* TO 'kopano'@'localhost';
quit
Note. choose a secure password instead of the placeholder.
Customize the Kopano Server
If there are no configuration files exist in/etc/kopanothe .cfg files can be found in/usr/share/doc/kopano/example-config
Unpack and copy the sample configuration files (.cfg). Note. I bypass the alias ‘cp -i’ and use the non-aliased cp by prefixing it with \, if that does not work! hit unalias cp first instead of \cp.
Next edit the Kopano server configuration/etc/kopano/server.cfg
For now only the user for Kopano Admin, execution and database access will be changed.
Note. the password entered for the database user in the step before.
In the final step we will start the Kopano server.
$ systemctl start kopano-server
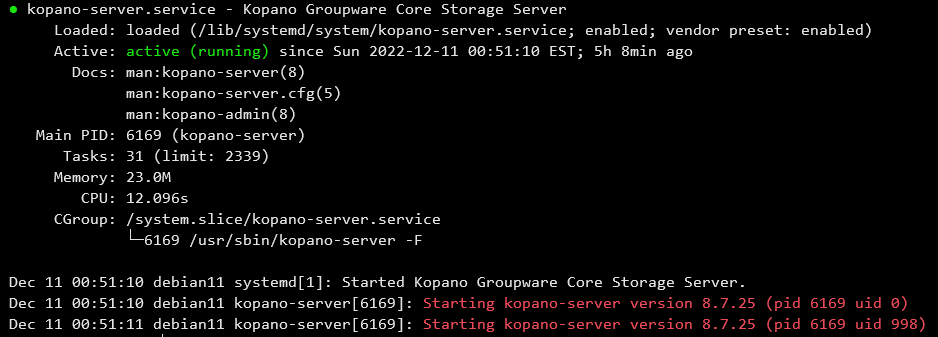
Now of course we want to check the status of the services.
$ systemctl status kopano-*
When everything worked out so far, the following output will displayed.
The Kopano Server configuration in this tutorial is based on the database backend. When using the database backend, nothing needs to be changed as the database user_plugin is already the default. In addition, there is the LDAP plugin (“user_plugin=ldap”) for better administration, for integration with OpenLDAP, Active Directory and Samba, which is not discussed further here.
Create an admin account to manage the Kopano Server.
The WebApp runs as front-end of the Collaboration suite, same like the most CMS they are based on the LAMP-Stack (Apache, MySQL, PHP). For Debian 11 the Apache2 web server and PHP 7.4 (“libapache2-mod-php”) from the Debian Standard Repository are installed by default.
$ apt install -y apache2 php php-common
If a fresh installation of the server is chosen with Debian or Ubuntu, which is recommended for a successful KC installation, the entire LAMP-Stack (Apache, MySQL, PHP) can be easily installed with taskel. This will deploy all the packages required for the Kopano installation script to complete successfully.
The next Kopano Repository needs for WebApp to be added to: /etc/apt/sources.list.d/kopano.list
$ echo "deb https://download.kopano.io/supported/webapp:/final/Debian_11/ ./" | tee -a /etc/apt/sources.list.d/kopano.list
Add the APT authentication configuration in: /etc/apt/auth.conf.d/kopano.conf
$ echo "machine download.kopano.io/supported/webapp:/final/Debian_11/ login serial password XXXXXXXXXXXXXXXXXXXXXXXXX" | tee -a /etc/apt/auth.conf.d/kopano.conf
Add the PGP-Signature Release.key to the trusted keys.
$ wget -O- https://serial:XXXXXXXXXXXXXXXXXXXXXXXXX@download.kopano.io/supported/webapp:/final/Debian_11/Release.key | tee /etc/apt/trusted.gpg.d/WebAppRelease.key > /dev/null 2>&1
Instead of the placeholder (“XXX”) insert the 25-digit serial key.
Enable the newly added Repository.
$ apt update
Finally we will be ready to deploy the WebApp from the Repository.
$ apt install -y kopano-webapp
Enable the Kopano-WebApp site and reload the Apache2 webserver.
Since secure cookies are enabled by default starting with WebApp 3.4.0, this means that the WebApp cannot be accessed without SSL certificates. This can be switched off by enabling insecure cookies in: /etc/kopano/webapp/config.php
define("SECURE_COOKIES", false);
Change from true to false around line 44 to allow log-in without HTTPS.
Make sure the web server is enabled at system startup.
Z-Push is an implementation of Microsoft’s ActiveSync protocol that uses wireless technology for ActiveSync-enabled devices across multiple platforms, including Apple iPhone and iPad and Android devices. With open source Z-Push, any PHP-based collaboration package can be fully synchronized with any ActiveSync compatible device.
Z-Push again provisioned from Kopano with add the Repository.
$ echo "deb https://download.kopano.io/zhub/z-push:/final/Debian_11/ ./" | tee /etc/apt/sources.list.d/z-push.list
Add the PGP-Signature Release.key to the trusted keys.
To activate Z-Push the web server has to be reloaded.
$ systemctl restart apache2
Z-Push is now deployed and can be found at /usr/share/z-push. The configuration in/etc/z-push/z-push.conf.phpthere no changes need.
Hint! it is generally a good idea to use the complete email address as a login name, with the value of USE_FULLEMAIL_FOR_LOGIN set to true in/etc/z-push/z-push.conf.php
define('USE_FULLEMAIL_FOR_LOGIN', true);
This value is also used in/etc/z-push/autodiscover.conf.php
I recommend the settingloginname_format = %uwhere the username is created with user@example.org, see the corresponding settings in /etc/kopano/server.cfg
For Multi-tenancy installations use the loginname format %u@%c.
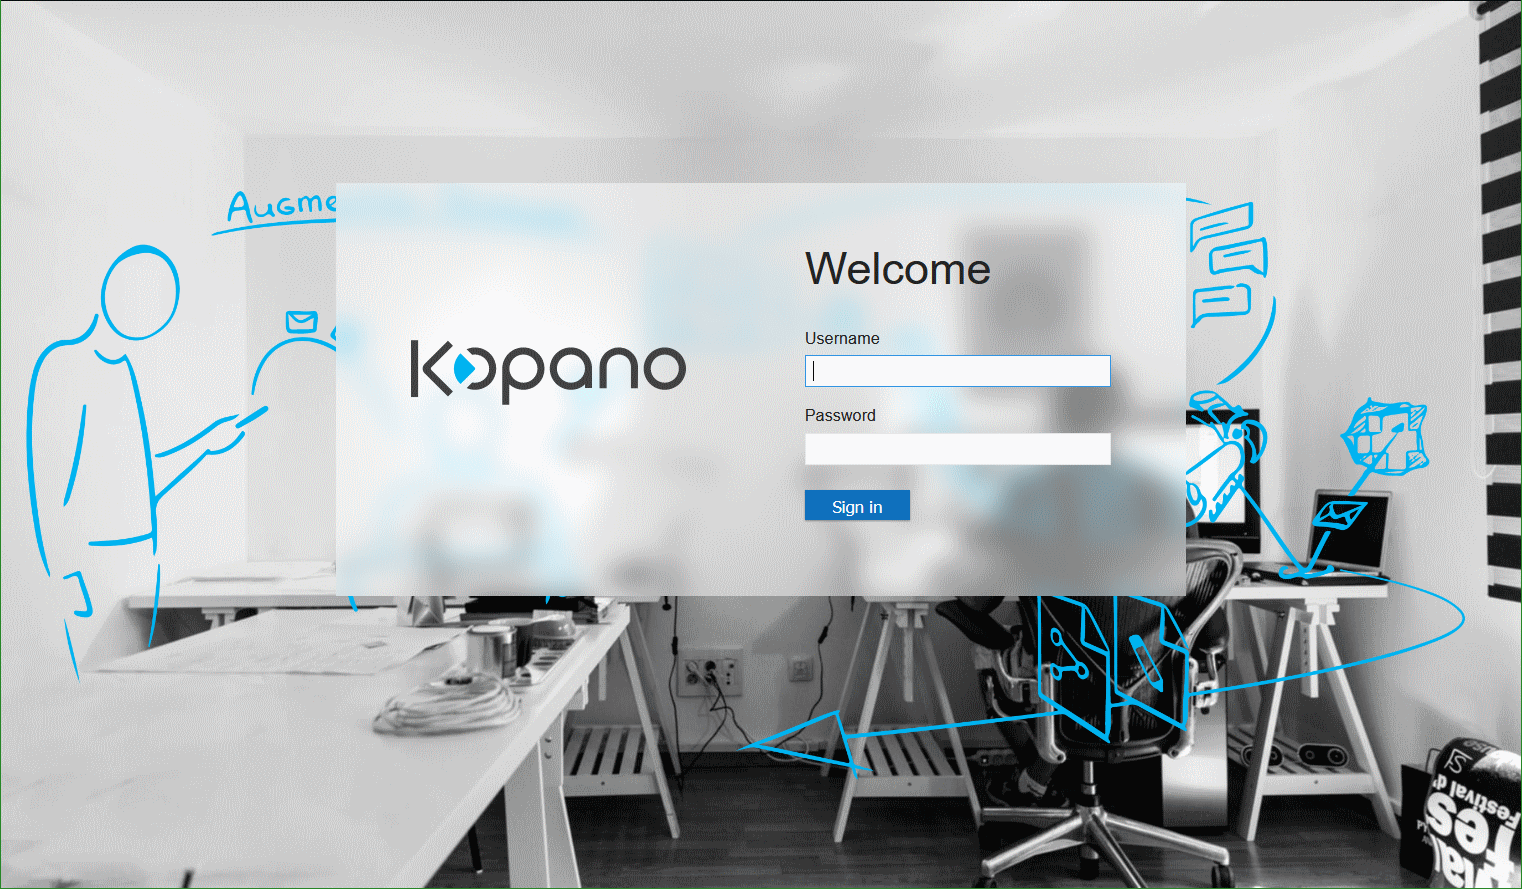
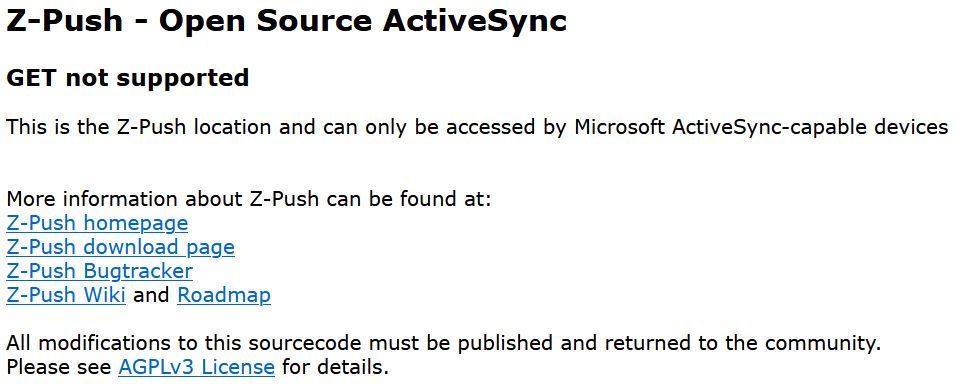
Z-Push readiness can be verified by opening the URL in a browser.
If everything went well, you will be prompted to log in, use the previously created (“kadmin”) user here or, if already available, another user login, then the Z-Push ActiveSync page will appear.
Kopano and Postfix Mail Transport Agent
Kopano Core does not include its own MTA, but integrates with all established MTAs found in modern Linux distributions. Although KC supports most Linux MTAs, using Postfix is recommended.
To deliver an email to a user’s mailbox, the kopano-dagent is run. Messages are passed to kopano-dagent via the LMTP protocol. Using LMTP is the recommended deployment method as it enables Single Instance Attachment Storage.
Postfix with MySQL connection is used for this purpose, which is provisioned for the MTA as follows.
$ apt install -y postfix postfix-mysql
The install assistant prompts you to choose the mode in which the MTA has to by run and enter a hostname for the Postfix configuration, i.e. kopano.example.org.
Add the main Postfix configuration to/etc/postfix/main.cf
For lookup of the recipient the password is needed again in the next step.
In addition create a file/etc/postfix/mysql-users.cf
$ echo "user = kopano
password = password
hosts = 127.0.0.1
dbname = kopano
query = SELECT value FROM objectproperty where propname = 'emailaddress' and value = '%s';" > /etc/postfix/mysql-users.cf
According to a Kopano server in Multi-tenancy environment, I’ll use here the loginname format ‘%u@%c’ (%u Username, %c Teantname), for a system-wide unique username such as email address.
At last restrict the access rights and build the virtual Berkeley DB.
With incoming emails now Postfix virtual_mailbox_maps look up if the recipient (user) exists in the store using SQL query. other integrations are possible, such as interaction with LDAP, which is not covered in this tutorial.
Useful Commands
After the Kopano server is hooked up and ready to use, in the next steps we create and manage user accounts and mailbox storage using db plugin.
With a Multi-tenancy environment (only then) the following KC server setting is made bellow the MISC SETTINGS section in: /etc/kopano/server.cfg
Here will be set administrator level for user with -a1.
Do not forget to create a mailbox store for new created user.
$ kopano-cli --create-store -u kate@company.org
Now check whether the new user actually exists with list users, users will now logging in using the e-mail address as the username.
$  kopano-admin -l
User list for company.org(2):
        Username                Fullname        Homeserver
-----------------------------------------------------------
        SYSTEM                  SYSTEM          Unknown
        kate@company.org        Kate Middleton
For help hitkopano-admin --helpalso further detailed information view the man page or hitman kopano-adminin your terminal shell.
Let’s Encrypt SSL/TLS Certificate Authority (CA)
The deployment of Let’s Encrypt and it’s ACME implementation with Certbot is done quickly with just only two commands.
The Kopano server is now complete with all functions that can be used by the desktop and mobile clients. A further variety of applications and plugins can be provisioned, the infrastructure integration for active directory or samba and OpenLDAP may be further steps.