
Sender Policy Framework (SPF) is a service deployed to avoid being identified as a spam sender
postfix-policyd-spf is a fully functional engine for SPF verification under Postfix. The daemon includes a variety of mechanisms and policy options to meet a wide variety of system requirements. postfix-policyd-spf-perl was implemented on Perl, further available on Python there is postfix-policyd-spf-python, the Python SPF module (spf) is used. As a Postfix module, it supports RFC 7208 of the Sender Policy Framework (SPF).
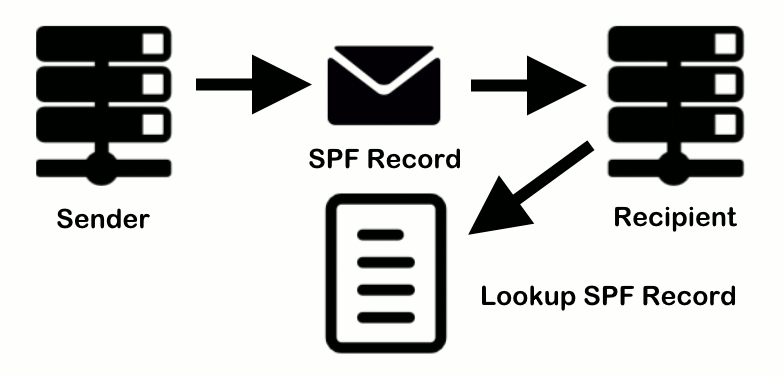
Additional information is stored in the DNS (Domain Name System) in the form of an SPF record. This TXT-based SPF record contains specific information about authorized mail servers, Mail Transfer Agent (MTA).
How to install Postfix policyd-spf
The installation on Debian 10 and Debian 11 starts as root as follows:
$ apt install postfix-policyd-spf-pythonIf the Perl module is preferred, the Perl SPF-Milter can be installed as root as follows.
$ apt install postfix-policyd-spf-perlEdit Postfix SPF master.cf for policyd-spf
After postfix-policyd-spf-python, or postfix-policyd-spf-perl is installed, we edit the configuration file of the postfix master process.
$ vi /etc/postfix/master.cfTo launch the Postfix statement with the Python SPF policy checker, add the following lines to the end of the master.cf file.
policyd-spf  unix  -       n       n       -       0       spawn
   user=policyd-spf argv=/usr/bin/policyd-spf
Use the SPF policy verification on the Perl implementation is as follows.
policyd-spf  unix  -       n       n       -       0       spawn
   user=policyd-spf argv=/usr/sbin/postfix-policyd-spf-perl
Save and close the file.
Edit Postfix SPF main.cf for policyd-spf
Next, edit the Postfix main configuration file.
$ vi /etc/postfix/main.cfAdd the following lines to the end of the main.cf file. The first line specifies the timeout setting for the Postfix Policy Agent. The following lines restrict incoming emails by checking the SPF record and rejecting unauthorized emails.
policyd-spf_time_limit = 3600
smtpd_recipient_restrictions =
   permit_mynetworks,
   permit_sasl_authenticated,
   reject_unauth_destination,
check_policy_service unix:private/policyd-spfNote! if check_policy_service is not the last line below the section smtpd_recipient_restrictions, then there must be a comma (,) at the end of the line. No comma on the last entry.
Save and close the file.
Ensure that the user id policyd-spf exist by run id policyd-spf, if not exist, the system account is created as follows.
$ useradd -r -M policyd-spf -s /usr/sbin/nologinThen restart the Postfix using systemctl.
$ systemctl restart postfixThe next time receive an email by a domain with an SPF record in DNS. You can see the results of the SPF verification in the RAW email header. The following header indicates that the sender sent the email from an authorized host.
policyd-spf[733750]: prepend Received-SPF: PassThe output appers when using the Perl module.
postfix/policy-spf[735983]: Policy action=PREPEND Received-SPF: passVerify Python and SPF
When using postfix-policyd-spf-python, Python must be available on the server, as well as the Python SPF module. The verification can be carried out as follows.
$ python3
Python 3.9.2 (default, Feb 28 2021, 17:03:44)
[GCC 10.2.1 20210110] on linux
Type "help", "copyright", "credits" or "license" for more information.
>>> help('modules')
If Python is installed on the system, the help('modules') command displays multiple modules in columns. The spf and spf_engine module is required. The Python module can be added as follows.
pip install pypolicyd-spfVerify SPF Record
To verify the SPF TXT Record for a specific domain, run the lookup command out from linux terminal.
$ dig TXT mydomain.net +short
 "v=spf1 a mx ~all"
Using windows then run this command in the command prompt (cmd).
C:\> nslookup -type=TXT mydomain.net
 "v=spf1 a mx ~all"

