If you want to restore the classic File Explorer Ribbon of Windows 10 in Windows 11, add this registry key – this is how it works.
This tutorial show you how to restore the Classic Ribbon in File Explorer in Windows 11.
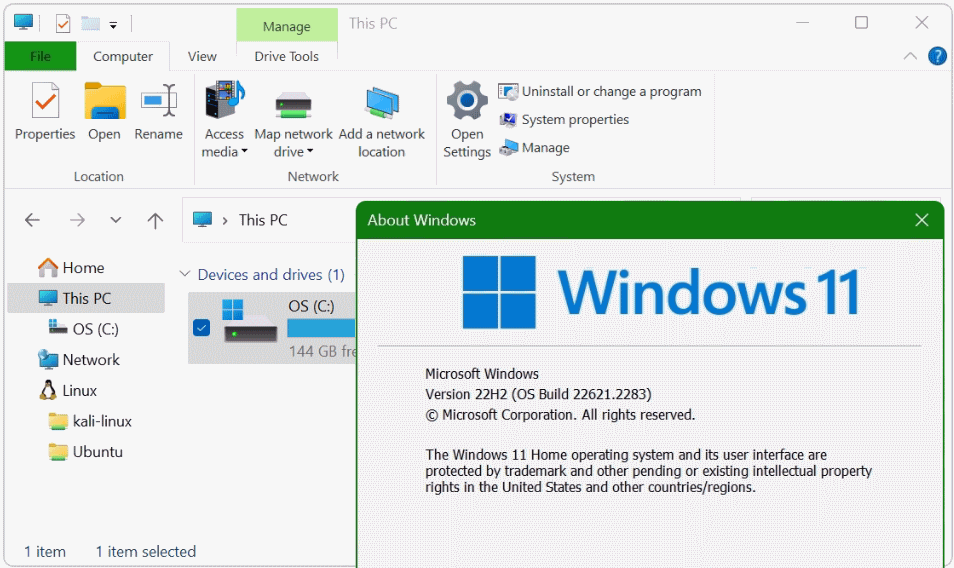
This tweak will only works up to Windows 11 version 21H2, but you can try Restore Back to Classic Ribbon in Windows 11 version 22H2 and later.
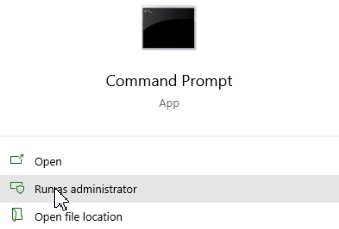
Press the ![]() key and type “Command Prompt” from the keyboard, then right-click “Run as administrator” above the icon.
key and type “Command Prompt” from the keyboard, then right-click “Run as administrator” above the icon.
Add the registry key in the open command prompt.
REG ADD "HKLM\SOFTWARE\Microsoft\Windows\CurrentVersion\Shell Extensions\Blocked" /v "{e2bf9676-5f8f-435c-97eb-11607a5bedf7}" /t REG_SZ /d "" /fInsert Registry line with Copy Paste and press the Enter key.
After successful execution, the message appears.
“The operation completed successfully“.
Finalize File Explorer Tweak
That’s it, now restart the “Windows Explorer” shell process in Task Manager with the right mouse button.
or simply restart Windows completely. The File Explorer now shows up again with the Windows 10 style Classic Ribbon.
Find File Explorer in Windows 11
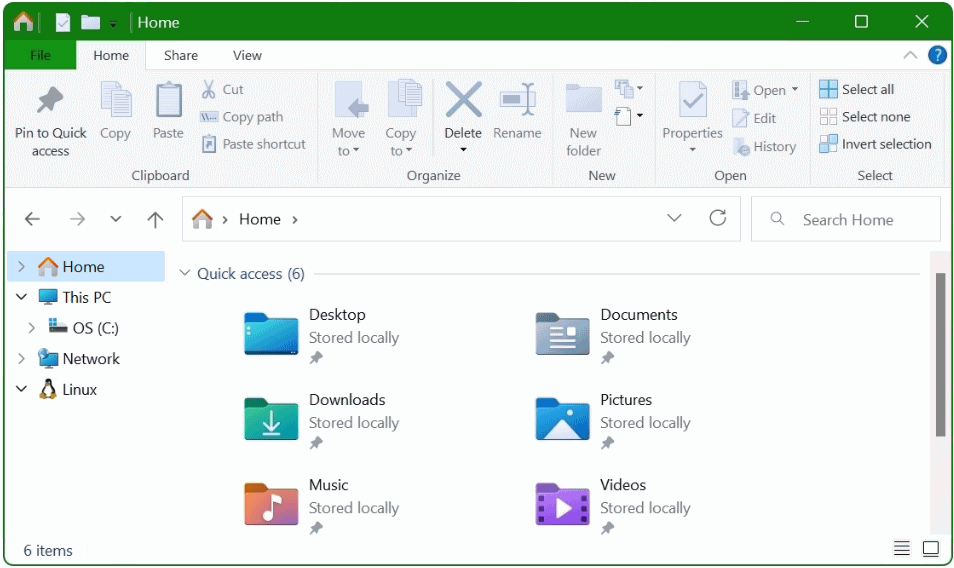
File Explorer in Windows 11 helps you get the files you need quickly and easily.
To check it out in Windows 11, select it on the taskbar or the Start menu, or press the Windows logo+E key on your keyboard.
How to use File Explorer
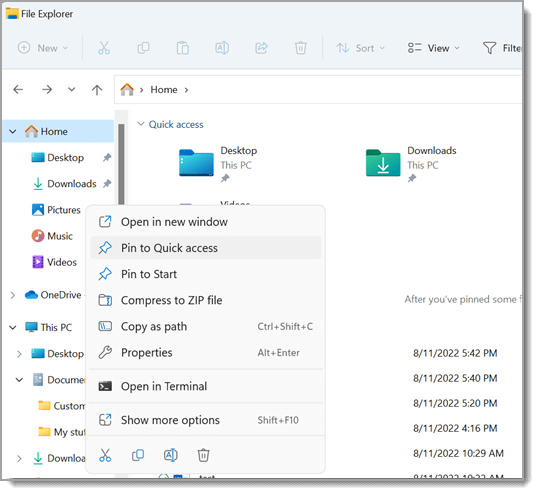
To pin a folder to Quick access, right-click (or press and hold) the folder and select Pin to Quick access.
How To share a file, select it, then select Share on the ribbon.
To move the location of a file or folder, select it and then select Cut on the ribbon. Navigate to the new location, then select Paste.
To change how your items appear in File Explorer, select View on the ribbon and choose between showing icons, lists, details, and more.
You can reduce the space between files, select View > Compact view.
To find relevant files from your PC and the cloud, search from File Explorer Home.
File Explorer has a new, streamlined context menu, making it easier to get to popular commands. Right-click on a file to access the new context menu.
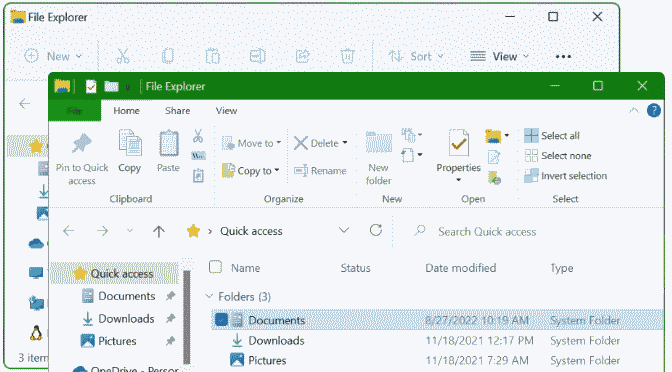
Common Tasks in File Explorer Windows 10
You can use the Ribbon in File Explorer for common tasks, such as copying and moving, creating new folders, emailing and zipping items, and changing the view. The tabs change to show extra tasks that apply to the selected item.
Users can select to show (expand) the Ribbon so that it is always expanded even after you click a command on the Ribbon, or select to hide (minimize) the Ribbon to show only the tab names on the Ribbon.
This post will show you how to expand the Ribbon in File Explorer in Windows 10.
While in File Explorer ![]() + E press the Ctrl+F1 keys to toggle to expand (show – default) or minimize (hide) the Ribbon.
+ E press the Ctrl+F1 keys to toggle to expand (show – default) or minimize (hide) the Ribbon.
Right click or press and hold on an empty area of the Ribbon tab bar, and click tap on Minimize the Ribbon to uncheck it.
Restore Back to Classic Ribbon in Windows 11 22H2
The File Explorer in Windows 11 has a modern ribbon with small icons (no caption text underneath). The new File Explorer ribbon may look unfamiliar and inconvenient to users who have upgraded from Windows 10 to Windows 11.
Nevertheless, there are a tweak to get back the classic ribbon same from Windows 10 style in Windows 11 File Explorer.
To restore back the classic ribbon in 22H2 simply replacingExplorerFrame.dllwith the 21H2 version. Follow these steps to replace the explorer dll file:
- Download ExplorerFrame.dll (21H2 version) and copy it to c:\temp, this directory probably still needs to be created.
- Launch Command Prompt as TrustedInstaller, to become a TrustedInstaller you can get the AdvancedRun utility from NirSoft.
- After unzipping, open explorer
 +E and navigate to the path where you unzipped AdvancedRun, for me it is in the folder advancedrun-x64, type
cmdin the address bar and press the Enter key.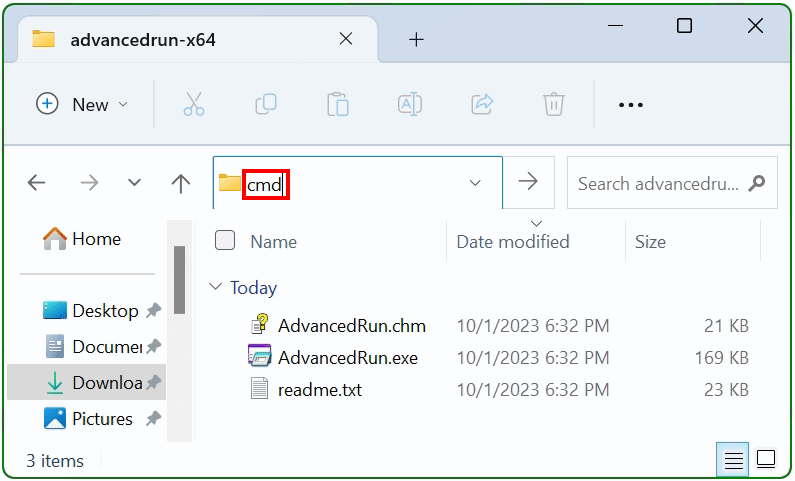
- Launches Command Prompt as TrustedInstaller out from advancedrun-x64 directory by run these command.
AdvancedRun.exe /EXEFilename "c:\windows\system32\cmd.exe" /RunAs 8 /RunThe command using the ‘8’ value of the /RunAs parameter to sets the Run As mode to TrustedInstaller.
Now close all open File Explorer and switch to the Command Prompt window as TrustedInstaller and run these commands.
cd C:\temp
tar -xf ExplorerFrame.zip
cd /d c:\windows\system32
ren ExplorerFrame.dll ExplorerFrame.bak
copy C:\temp\ExplorerFrame.dll
Done! close any Command Prompt window and launch Task Manager to restart the Explorer shell process with the right mouse button.

The Classic File Explorer Ribbon is now restored in Windows 11 22H2.
A future cumulative update may overwrite the original version of ExplorerFrame.dll. In this case, follow the above steps again to restore the Classic Ribbon in File Explorer.