Running Scripts on OpenVPN Connect and Disconnect
OpenVPN Client for Windows using script file allows you to mapping network drives to servers shares when starting VPN connections. There are other options, such as running login scripts, printer redirects, or automated updating. This tutorial shows the installation and the usage of OpenVPN connection scripts.
How to do it
The OpenVPN GUI for Windows can be downloaded from the community website here. The OpenVPN client can also be deployed using winget ran in the command prompt.
C:\> winget install --id OpenVPNTechnologies.OpenVPNUpon during installation, the OpenVPN directory is created under %USERPROFILE%, including the folder config, which contains the configuration files (.ovpn) that are stored from the OpenVPN GUI with File Import.
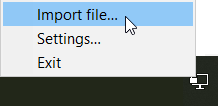
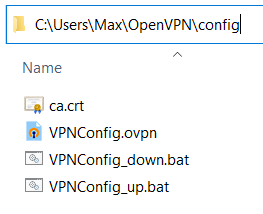
Right-clicking above the OpenVPN ![]() icon in the taskbar opens the context menu with file import, which is saved at:
icon in the taskbar opens the context menu with file import, which is saved at: %USERPROFILE%\OpenVPN\config
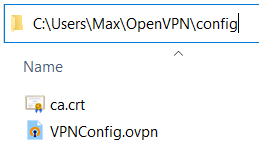
The batch files must be in the same config directory and have the same name as the file name of the configuration (.ovpn), whereby _up must be added, as here the file name starts with VPNConfig and appended _up, VPNConfig_up.bat.

The contents of the connection-building batch file may look like this so that a network drive is mapped to the server after connecting OpenVPN.

It is mapped with VPNConfig_up.bat the network drive I: to the server tower, here in this example being login against domain city.local as username max using password pass123. If you do not want to have a visible password in the batch, you can remove it so the password prompt will by called.
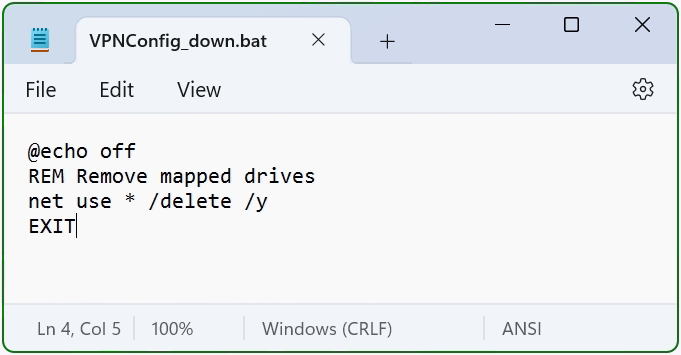
After disconnecting the OpenVPN connection, the batch VPNConfig_down.bat does disconnects the network drives.
The batch files must be in the same directory, here in the user profile under OpenVPN along with the ovpn file in the config directory.
If you rename the configuration file before importing it, here the VPNConfig.ovpn i.e. CityOffice.ovpn, then this name appears in the context menu when connecting to destination in the OpenVPN GUI. The batch files must have the same names before _up and _down.
In order for the server name to be resolved at “net use”, the entry “dhcp-option DNS” has to modify in the file VPNConfig.ovpn:
dhcp-option DNS 192.168.3.110
In this example, the DNS 192.168.3.110 is on the remote network to which we connect to OpenVPN. If there is no DNS on the network, the IP address must be specified instead of the host name.
OpenVPN Settings
In the OpenVPN Settings you will find the possibility to determine the location of the configuration files and log files, here the path to the files can be changed, also there is the possibility to determine the extension .ovpn. Adjusting the paths can be useful, for example, when using roaming profiles, creating the folder for the OpenVPN connections under %APPDATA%, or when using offline folders, this can be set individually.
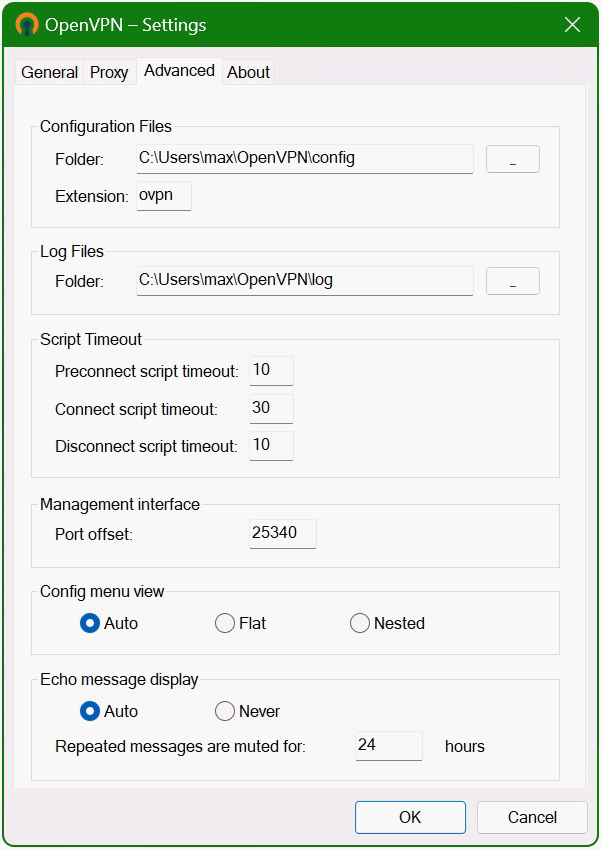
In the OpenVPN Settings Advanced, the values for script files can be changed if necessary, in the Script Timeout area for Preconnect script timeout, in this case the batch file VPNConfig_up.bat, and VPNConfig_down.bat for timeout for Disconnect script.
Example of a Netlogon Connection Script (xxxxxxxx_up.bat):
@echo off
timeout 5
REM mapping network printer
rundll32 printui.dll,PrintUIEntry /in /n \\tower\laserjet_office
REM mapping network drive
net use I: \\tower\office /persistent:no /user:city\max pass123
REM wait along two pings
ping localhost -n 2 > null
REM pop-up greeting message
echo msgbox("Welcome %USERNAME% on %USERDOMAIN%."),vbInformation , "Message"> %temp%\msg.vbs
%temp%\msg.vbs
REM delete message
erase %temp%\msg.vbs