Installing KVM on CentOS
KVM is an open source hardware virtualization software that allows Linux-based and Windows-based virtual machines to run simultaneously. Called a Kernel-based Virtual Machine, KVM is an alternative to VMware ESXi and Xen, where by installing the KVM package, loading the KVM module into the current kernel and forming a hypervisor from a Linux machine.

This article shows how to install a KVM hypervisor on CentOS 7.x and RHEL 7.x to install virtual machines afterwards.
KVM Hypervisor Installation
Before proceeding with the KVM installation, check whether the CPU of the system supports hardware virtualization. To do this, perform the following command in the root shell
grep -E '(vmx|svm)' /proc/cpuinfo
The word vmx or svm should appear in the output, otherwise the CPU does not support virtualization. It may be worth going into the BIOS system to activate the VT-x boot setting.
The KVM packages and their modules are installed.
yum install -y qemu-kvm qemu-img virt-manager libvirt libvirt-python libvirt-client virt-install virt-viewer bridge-utils
The KVM service can now be activated and started.
systemctl enable libvirtd
systemctl start libvirtd
We check if the KVM modules have actually been started.
lsmod | grep kvm
kvm_intel 162153 0
kvm 525409 1 kvm_intel
If there is a Minimal CentOS 7 or RHEL 7 installation, the virt-manager does not start, so we still have to install X-Window.
yum install -y "@X Window System" xorg-x11-xauth xorg-x11-fonts-* xorg-x11-utils
Restart the server and then try to start the virtual manager.
virt-manager
Before we start deploying VMs, let’s first create a bridge interface. The bridge interface is required if you want to access virtual machines from outside the network to the hypervisor. In our example, the Ethernet interface is called ifcfg-eth0.
cd /etc/sysconfig/network-scripts/
cp ifcfg-eth0 ifcfg-br0
Now edit the interface file ifcfg-eth0 and enter the following:
vi ifcfg-eth0

TYPE=Ethernet
NM_CONTROLLED="no"
BOOTPROTO=static
DEVICE=eth0
ONBOOT=yes
BRIDGE=br0
Edit the ifcfg-br0 bridge file and specify the following:
vi ifcfg-br0

TYPE=Bridge
NM_CONTROLLED="no"
BOOTPROTO=static
DEVICE=br0
ONBOOT=yes
IPADDR=192.168.91.40
NETMASK=255.255.255.0
GATEWAY=192.168.91.1
DNS1=192.168.91.50
Restart the network service to activate the bridge.
systemctl restart network
Check the bridge interface with the following command:
ip addr show br0
If you prefer to make the Network Manager, you can create the bridge interface as follows:
nmcli c add type bridge autoconnect yes con-name br0 ifname br0
nmcli c modify br0 ipv4.addresses 192.168.91.40/24 ipv4.method manual
nmcli c modify br0 ipv4.gateway 192.168.91.1
nmcli c modify br0 ipv4.dns 192.168.91.50
nmcli c delete eth0
nmcli c add type bridge-slave autoconnect yes con-name eth0 ifname eth0 master br0
reboot
ip a
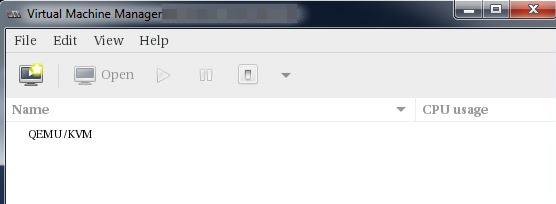
Virtual machines can now be created either from the command line with the virt-install command or from the GUI virt-manager.
In the GUI, go to the File option and click New virtual Machine.
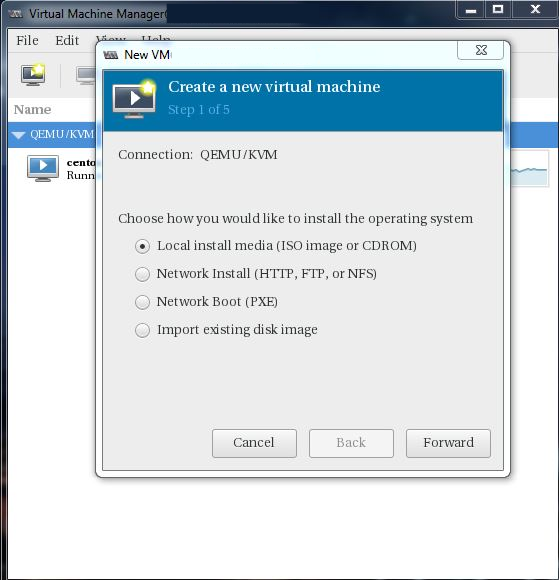
The virtual machine is now created with the help of the wizard.
Create virtual machine
Create virtual machines from the command line:
virt-install --name=Ubuntu-16-04 --file=/var/lib/libvirt/images/ubuntu16-04.dsk --file-size=20 --nonsparse --graphics spice --vcpus=2 --ram=2048 --cdrom=ubuntu-16.04-server-amd64.iso --network bridge=br0 --os-type=linux --os-variant=generic
Starting install...
Allocating 'ubuntu16-04.dsk' | 20 GB 00:00:00
Creating domain...
From the virtual manager, the VMs are booted up and managed, the status and system load is displayed, similar to what you know from vSphere.

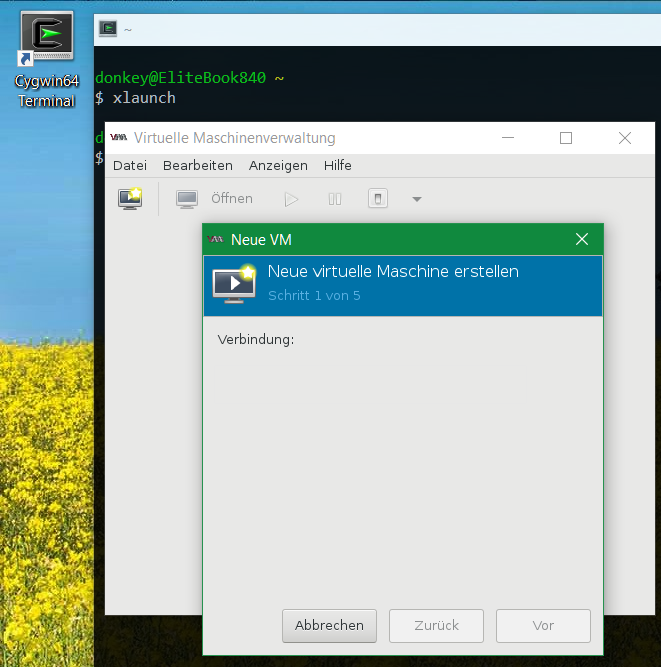
Furthermore, virt-manager from Cygwin is executable in Windows 10, for this Cygwin64 must be installed with the Xorg server and virt-manager, with the virt-manager one connects to the KVM hypervisor.