When working with Power BI Reports, you want dashboards and reports to be regularly updated with data sources. The Interactive Reports and Data Visualizations should reflect current information and charts.
Symptom
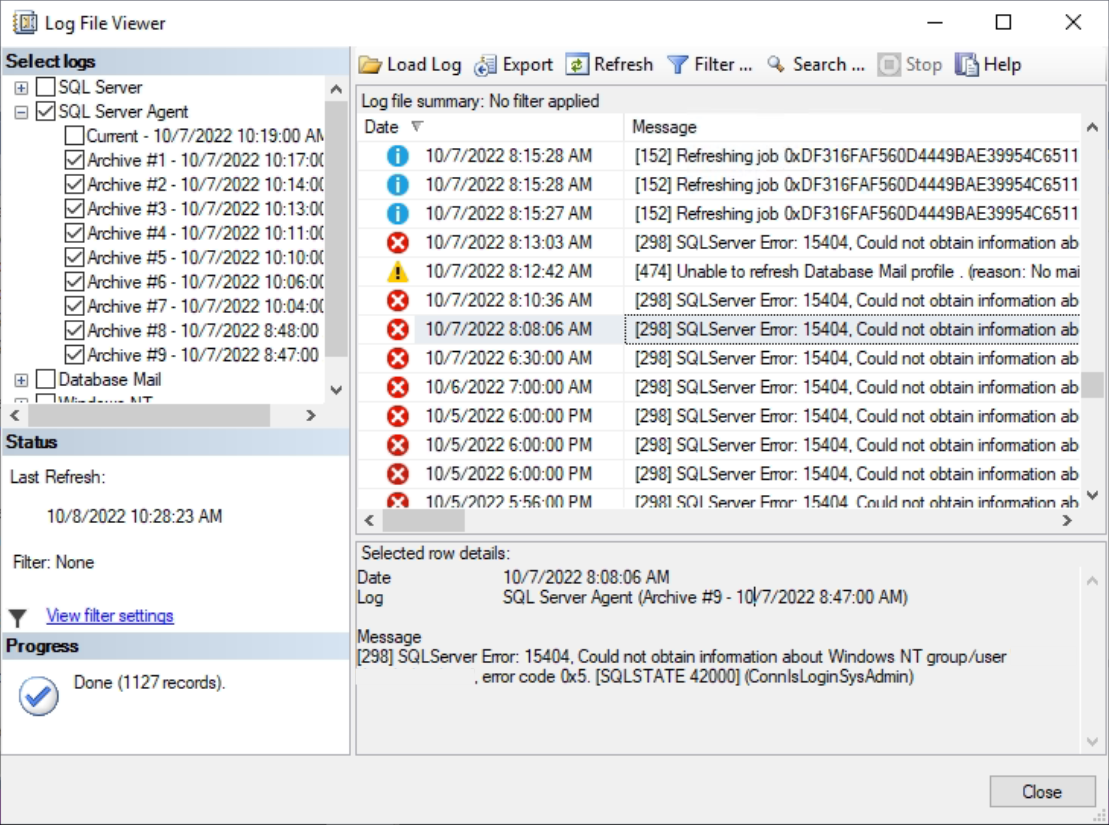
SQLServer Error: 15404, Could not obtain information about Windows NT group/user COM\sales, error code 0x5 ConnIsLoginSysAdmin>SQLSTATE 42000
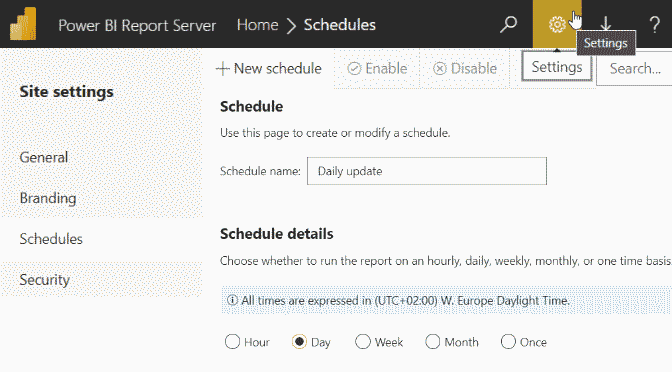
Updating the reports is performed by the Power BI Report Server scheduler. You get the SQL Server Error 15404 during a SQL Server On-Prem installation. Log File Viewer can found in the SQL Server Management Studio – SQL Server Agent – Log File Viewer.
Power BI Report Server Schedules
Cause
The upgrade tasks scheduled by Microsoft SQL Server Reporting Services (SSRS) and Power BI Report Server (PBRS) are performed by SQL Server Agent. SQL Server Agent is a Windows service that performs scheduled management tasks (jobs). For permission to perform the update task to be fulfilled, authentication of an Active Directory domain account is required. The Microsoft SQL Server installation involves running the SQL Server Agent service as NT SERVICE\SQLSERVERAGENT thereby Active Directory is refusing access to SQL Agent.
Solution
Use an Active Directory domain user account to log on.
SQL Server Configuration Manager
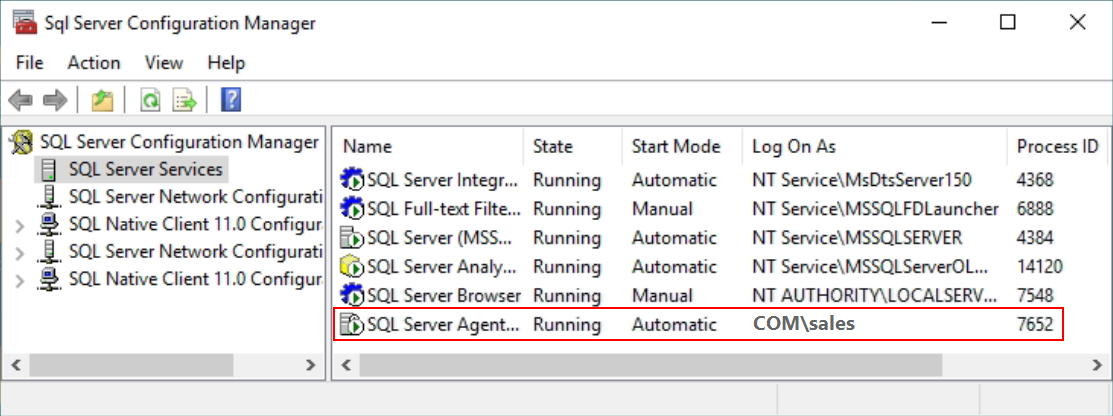
Change SQL Server Agent authentication with ran the services.msc MMC-console to enable SQL Server Agent service through Properties – Log on, or use the SQL Server Configuration Manager.
What is Power BI Report Server
Power BI Report Server is an on-premises report server with a web portal in which you display and manage reports and KPIs. Along with it come the tools to create BI reports, paginated reports, mobile reports, and KPIs. Your users can access those reports in different ways: viewing them in a web browser or mobile device, or as an email in their in-box.
PBI Report Server is similar to both SQL Server Reporting Services and it’s online service, but in different ways. Like the PBI service, PBI Report Server hosts PBI reports (.pbix), Excel files, and paginated reports.