Change Time Zone for RHEL, Fedora, Ubuntu and Debian Linux using timedatectl command.
This post shows how to query and set the time linux zone in the command line by timedatectl on most Linux distributions. The command line tool timedatectl use to check and modify time zone setting.
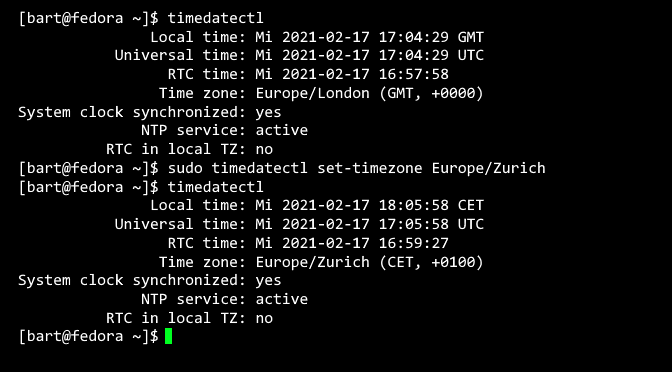
Run the query using timedatectl without additional arguments:
$ timedatectl
               Local time: Wed 2021-02-17 17:04:29 GMT
           Universal time: Wed 2021-02-17 17:04:29 UTC
                 RTC time: Wed 2021-02-17 16:57:58
                Time zone: Europe/London (GMT, +0000)
System clock synchronized: yes
              NTP service: active
          RTC in local TZ: no
Now set the time zone to another zone:
$ sudo timedatectl set-timezone Europe/Zurich
To query the changed time zone setting:
$ timedatectl
               Local time: Wed 2021-02-17 18:05:58 GMT
           Universal time: Wed 2021-02-17 17:05:58 UTC
                 RTC time: Wed 2021-02-17 16:59:27
                Time zone: Europe/Zurich (CET, +0100)
System clock synchronized: yes
              NTP service: active
          RTC in local TZ: no
The available time zones showing with the following command:
$ timedatectl list-timezones
Since there are many time zones, the query becomes very long; the query can be narrowed down with grep:
$ timedatectl list-timezones | grep Europe
The next relevant post might also be helpful. This post Set system locale on Linux shows how to query and set the time zone in the command line.
The timedatectl command allows you to query and change the configuration of the system clock and its settings. You can use this command to set or change the current date, time, and timezone. Or enable automatic system clock synchronization with a remote NTP server.
Here you walk through the ways you can manage time on your Linux system by setting the date. The time, timezone, and synchronize time with NTP from the terminal using the new timedatectl command.
It is always a good practice to maintain the correct time on your Linux server or system and it can have the following advantages:
maintain a timely operation of system tasks since most tasks in Linux are controlled by time.
the correct time for logging events and other information on the system and many more.
Setting Up and customize OpenVPN Client on Windows, macOS and Linux
VPN (Virtual Private Network) is becoming more and more widely used. OpenVPN is a free application for building a virtual private network over an encrypted TLS connection. The increasingly popular OpenVPN client enables VPN connections to access its data from anywhere, for example, when working in the home office, or with a private cloud.
This article shows the client deployment and use of OpenVPN. OpenVPN is available for free for many operating systems, in addition to Windows there is a client for macOS, for iOS, Linux and Android devices.
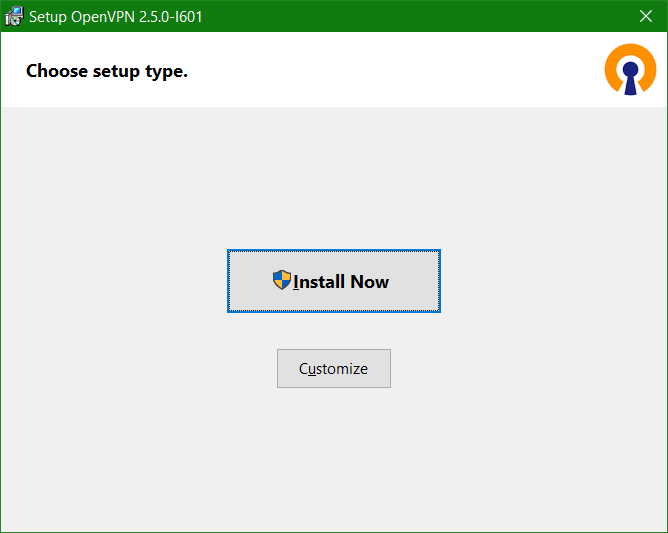
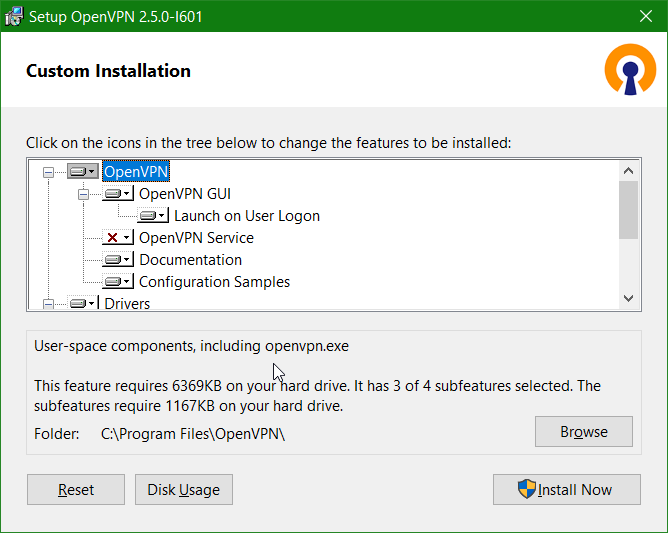
OpenVPN for Windows can also be downloaded from the community website here, on Windows 10 with double-clicking OpenVPN-2.5.0-I601-amd64.msi start the setup.
Choose Customize to goes through the setup wizard, because here only the client components are needed, we choose the selection.
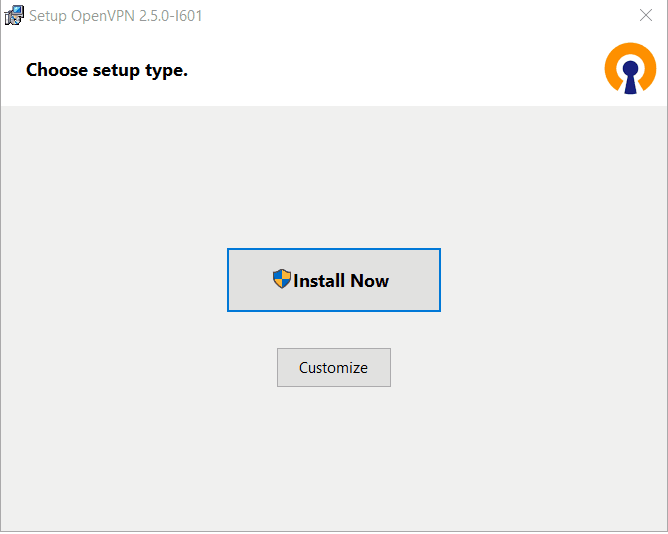
Continuous Installing OpenVPN..
OpenVPN Installing Completed.
Start OpenVPN
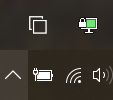
A glance at the taskbar shows now the OpenVPN icon
OVPN configuration import at the client
The OpenVPN Access Server is available for Windows, Linux and FreeBSD, and there are an increasing number of devices that can be used as OpenVPN servers, such as pfSense and OPNsense or OpenWrt, from commercial manufacturer like Sophos formerly Astaro or Synology NAS and many more.
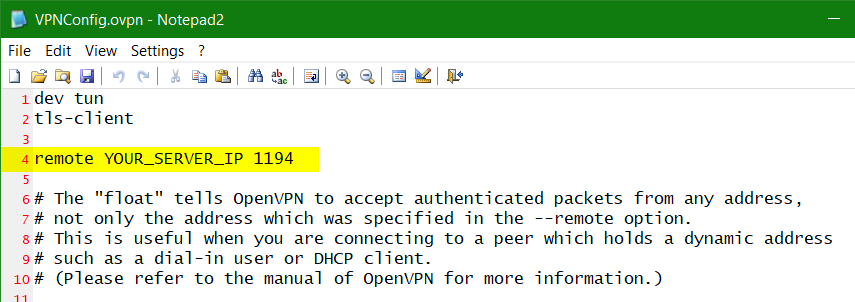
The file with the configuration for the client, such as openvpn.zip, which was previously exported on the VPN server or router need to unpacked, the files ca.crt, README.txt and VPNConfig.ovpn are usually extracted.
The configuration file here in this example VPNConfig.ovpn may have a different file name. Hint! if you change the file name to i.e. office-davos.ovpn, then this name appears in the context menu at connection.
The file VPNConfig.ovpn usually has to be open in an editor, for this I use Notepad and change YOUR_SERVER_IP to the public IP address of the VPN gateway, or the firewall on which is the NAT mapping to the VPN termination device.
After saving VPNConfig.ovpn, the configuration is imported.
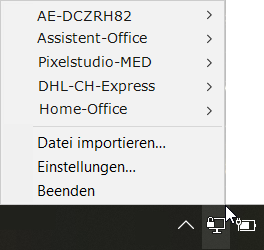
Right-clicking above the icon in the Systemtry opens the context menu from which you choose to import file.
Figure: Importing OpenVPN Connection
Tip! If you rename the file VPNConfig.ovpn eg. Home-Office.ovpn, the corresponding name appears as the target in the Connect context menu.
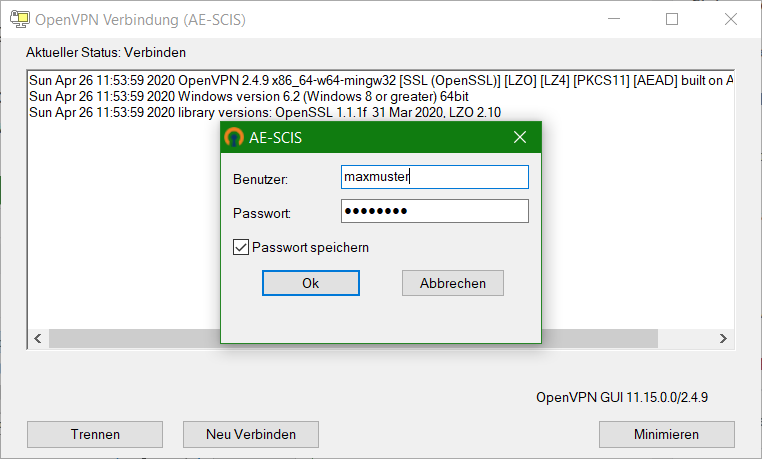
Connecting from the context menu prompts to enter the user and password, which is the user on the VPN Router or with use LDAP authentication the user on the server.
Figure: OpenVPN Connection
If the connection is successful, the OpenVPN icon will appear green.
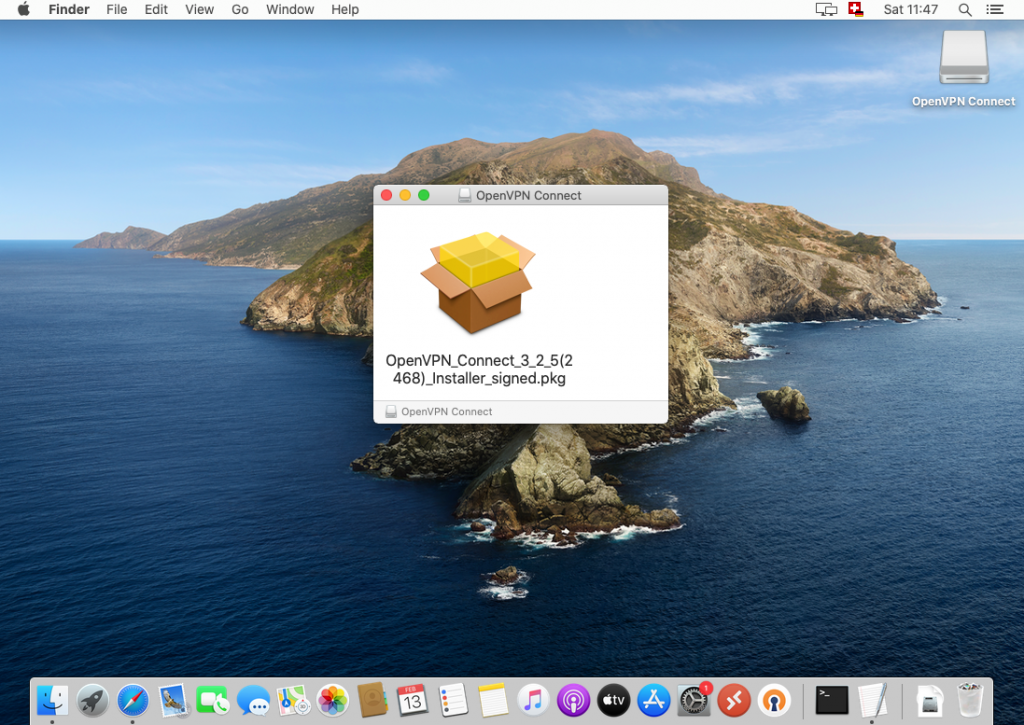
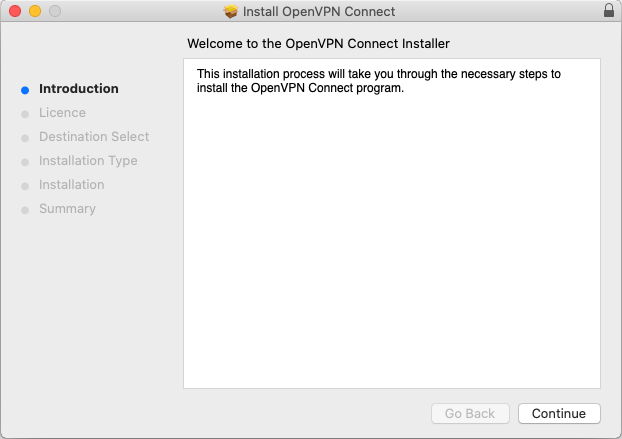
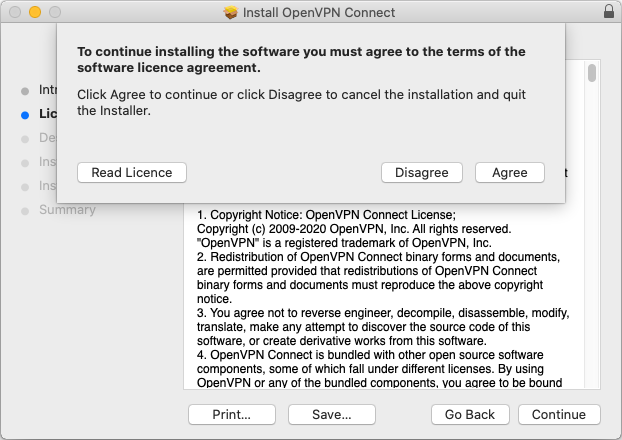
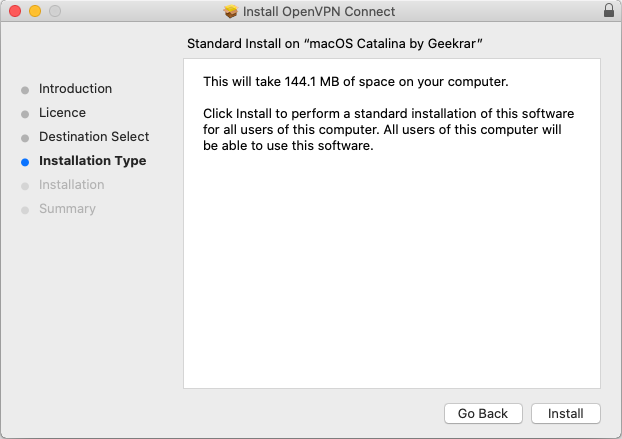
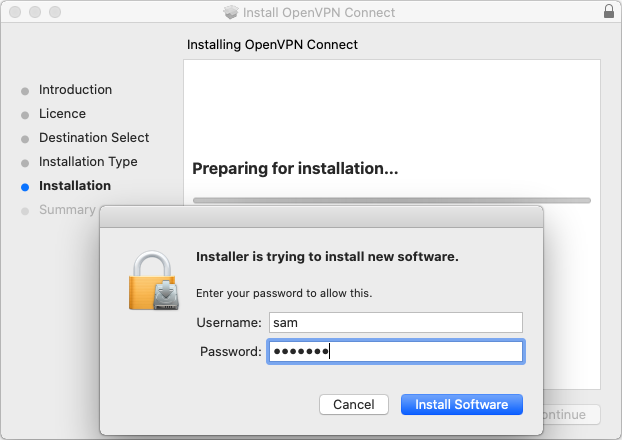
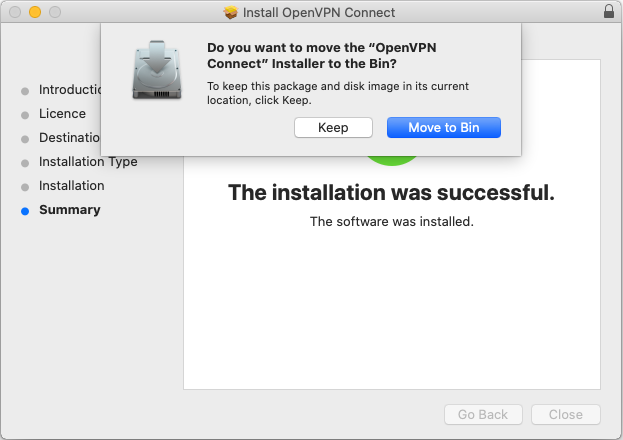
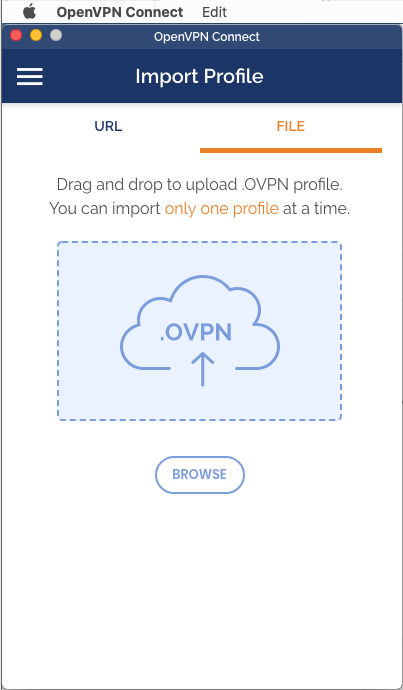
OpenVPN Connect v3 Client for macOS is a complete installation program for macOS, after the installation the ovpn file can be imported for an OpenVPN connection to an access server. If the downloaded OpenVPN Connect v3 for macOS is installed on a Mac on which OpenVPN Connect v3 is already installed and configured, it will be updated to the new version with all settings retained.
OpenVPN Installer on macOS CatalinaOpenVPN Connect for macOS Import and EditOVPN file import on macOS catalina.
Deploy OpenVPN client on Linux
With the standard installation, OpenVPN is usually already installed together with the network management tools, in this case you can go directly to Import OVPN configuration file below. The easiest way to deploy the OpenVPN client using the package management system is to run the following commands as root on a Red Hat based Linux distribution such as Fedora or CentOS:
[sam@fedora ~]$ sudo su -
[sudo] password for sam
[root@fedora ~]# dnf install openvpn
Install the OpenVPN on Debian and Ubuntu based distributions as follows:
[sam@debian ~]$ sudo su -
[sudo] password for sam
[root@debian ~]# apt-get install openvpn
Running the OpenVPN client with the downloaded configuration file, using the -config argument to pass the configuration file:
openvpn -config VPNConfig.ovpn
The configuration file here in this example VPNConfig.ovpn may have a different file name. Hint! if you change the file name to i.e. office-davos.ovpn, then this name appears in the context menu at connection
The connection can also be established via a GUI client, to install the OpenVPN GUI from the shell:
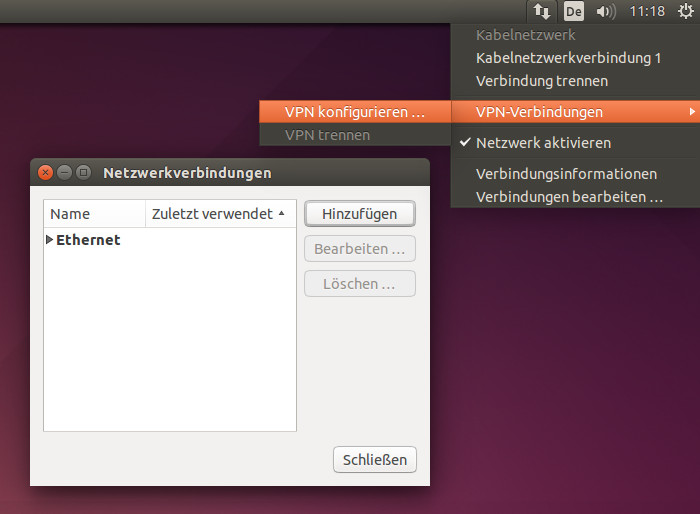
Now you can call the Connection Manager by clicking on the network icon – VPN Connections – Configuring VPN.
Illustration: OpenVPN GUI Ubuntu
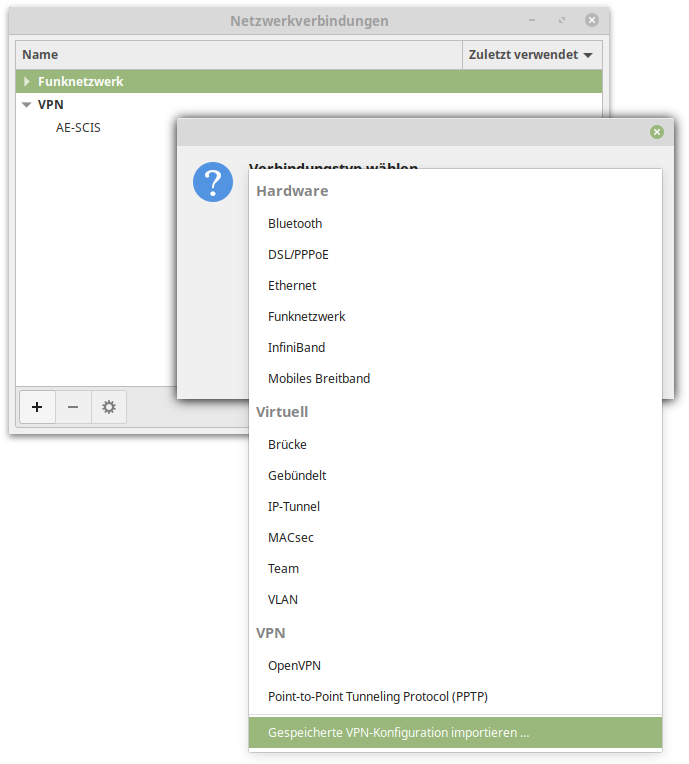
By clicking on Add – Import Saved VPN Configuration – Create a new VPN connection. The next step is to import the previously downloaded VPNConfig.ovpn file. The connection can now be started from the taskbar.
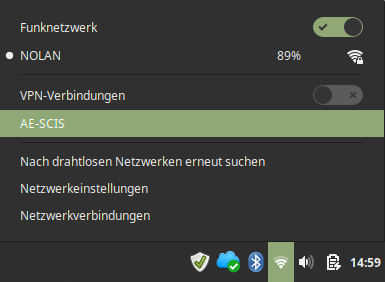
For Linux Mint with Cinnamon desktop, you click on the network icon in the taskbar and go to network settings.
Click + to create a new network connection.
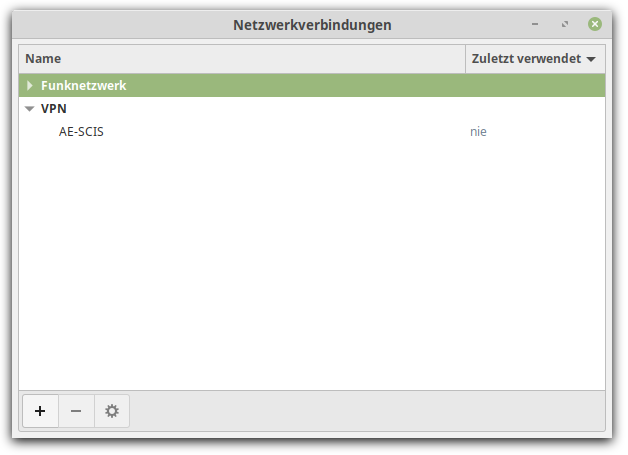
Import saved VPN configuration from the VPNConfig.ovpn file. After entering the user and password, the saved connection can be started in the taskbar.
Import the OVPN file via the Network Manager of Linux Mint and Cinnamon Desktop.
OVPN file import by Network Manager at Linux Mint Cinnamon desktop.
UNBLOG verwendet Cookies, um Dein Online-Erlebnis zu verbessern. Mit "ACCEPT" gibst Du Deine Zustimmung zur Nutzung dieser Website und unseren Datenschutzbestimmungen, oder wähle Cookie settings.
Diese Website verwendet Cookies, um Ihre Erfahrung zu verbessern, während Sie durch die Website navigieren. Von diesen werden die Cookies, die nach Bedarf kategorisiert werden, in Ihrem Browser gespeichert, da sie für das Funktionieren der grundlegenden Funktionen der Website wesentlich sind. Wir verwenden auch Cookies von Drittanbietern, mit denen wir analysieren und verstehen können, wie Sie diese Website nutzen. Diese Cookies werden nur mit Ihrer Zustimmung in Ihrem Browser gespeichert. Sie haben auch die Möglichkeit, diese Cookies zu deaktivieren. Das Deaktivieren einiger dieser Cookies kann sich jedoch auf Ihre Browser-Erfahrung auswirken.
Notwendige Cookies sind unbedingt erforderlich, damit die Website ordnungsgemäß funktioniert. Diese Kategorie enthält nur Cookies, die grundlegende Funktionen und Sicherheitsmerkmale der Website gewährleisten. Diese Cookies speichern keine persönlichen Informationen.
Alle Cookies, die für die Funktion der Website möglicherweise nicht besonders erforderlich sind und speziell zur Erfassung personenbezogener Daten des Benutzers über Analysen, Anzeigen und andere eingebettete Inhalte verwendet werden, werden als nicht erforderliche Cookies bezeichnet. Es ist obligatorisch, die Zustimmung des Benutzers einzuholen, bevor diese Cookies auf Ihrer Website ausgeführt werden.