Colors in the Linux Console with lolcat, cowsay and fortune
For those who believe that the Linux Command Line is boring and not fun, they are probably wrong. This post is about fantastically colors in Linux terminals by lolcat and cowsay or fortune.
I installed the small utility called “lolcat”, which can display the outputs in rainbow colors in the terminal, on a Fedora Workstation 30 and on a Linux Mint 20 (Ubuntu).

What is Lolcat ?
lolcat is a utility for Linux, BSD and OSX that works similarly to the cat command (Unix) and outputs in rainbow colors. The application /usr/bin/lolcat is similar to the /usr/bin/cat, closely known for Unixoid OS. concatenate (chain). lolcat is mainly used to output text outputs in rainbow colors in the Linux terminal. lolcat was originally developed in Ruby, there is clone on Python, and besides that in C of jaseg, this probably most performant version, is available as a binary in many repository of the distributions.
Install lolcat
So the easiest thing is to install lolcat directly from the default repository. Fedora installs lolcat as follows.
sudo dnf install -y lolcatFor Linux Mint, which is based on the Linux distribution Ubuntu, the deployment is therefore as usual with the apt-get package manager.
sudo apt install -y lolcatcommands output in rainbow colors
Now commands can be output in rainbow colors, such as the calendar.
Cal | lolcat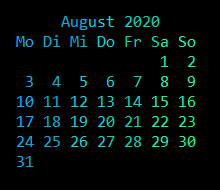
Spend the extended calendar for the whole year.
cal -y | lolcat -v 1.1 -h 0.6To get a different welcome message in the form of a quote each time you open the terminal, similar to MOTD, the following lines can be inserted into the .bashrc file at the bottom, with an editor of choice such as nano .bashrc, or vi .bashrc
function cowsayfortune
    NUMOFCOWS='cowsay -l | tail -n +2 | wc -w'
    WHICHCOW=((RANDOM%$NUMOFCOWS+1))
    THISCOW='cowsay -l | tail -n +2 | sed -e 's/'n/g' | sed $WHICHCOW'q;d''

#echo "Selected cow: "THISCOW," from "WHATCOW""
    fortune | cowsay -f $THISCOW -W 100 | lolcat -v 1.1 -h 0.6
}

cowsayfortune
Install cowsay
To do this, cowsay still needs to be installed, so that funny animals or mythical creatures are drawn in ASCII text, whereby the message appears in a speech bubble.
sudo dnf install -y cowsayFor Linux Mint and Ubuntu again as follows.
sudo apt install -y cowsayAlso, for example, the page can be refreshed with rainbow colors.
man cowsay | lolcat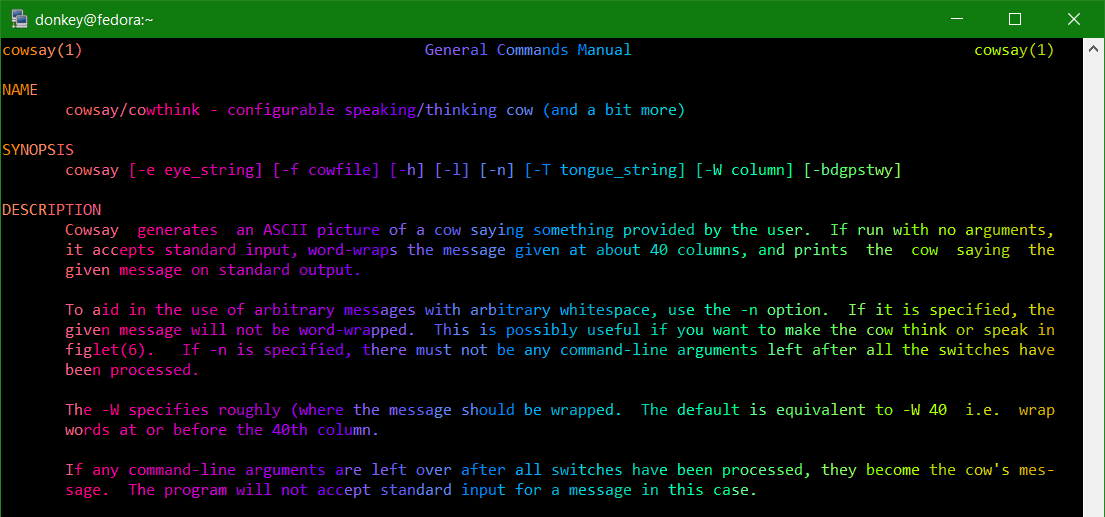
The query of the network configuration is made much clearer by color-separated contrasts, with the lolcat parameters vertical_speed (-v) and horizontal_speed (-h).
ip a | lolcat -v 10 -h 0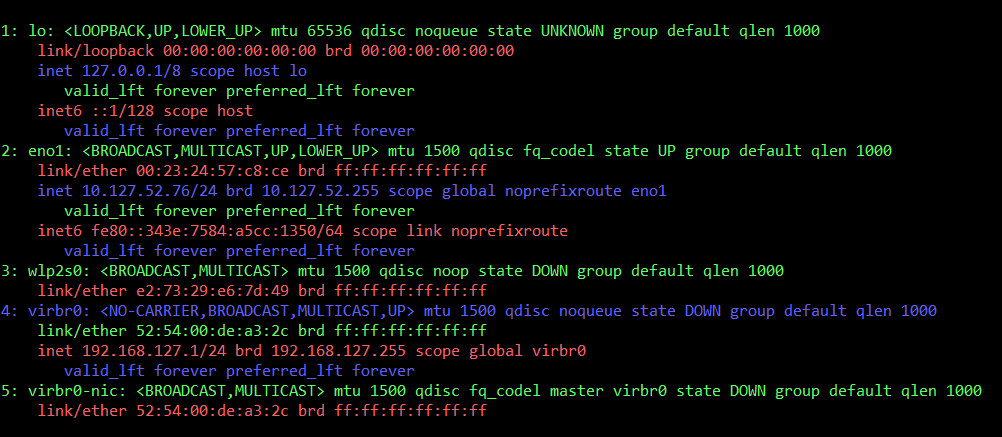
Some more examples of using lolcat.
cowsay -f kitty U Can't Touch This | lolcat -v 1.1 -h 0.5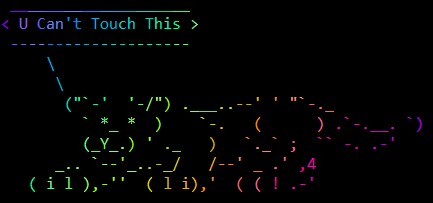
fortune | cowsay -f eyes | lolcat -v 2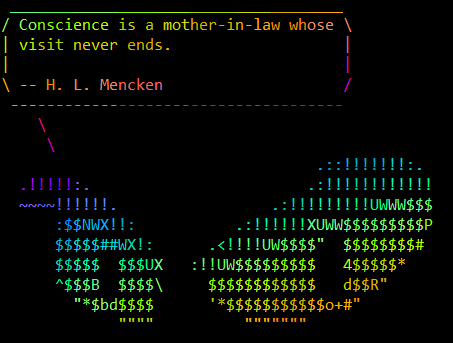
fortune -n long | cowsay -f dragon-and-cow | lolcat -v 1.2 -h 0.8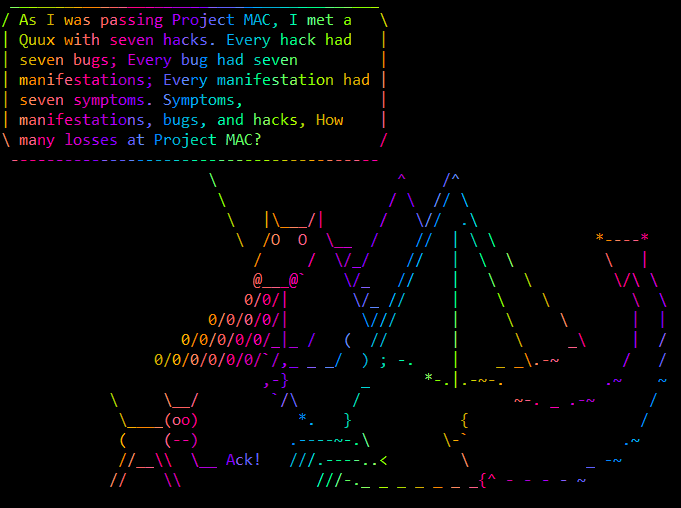
cowsay -f ghostbusters Look at my gist https://gist.github.com/donkey | lolcat -v 2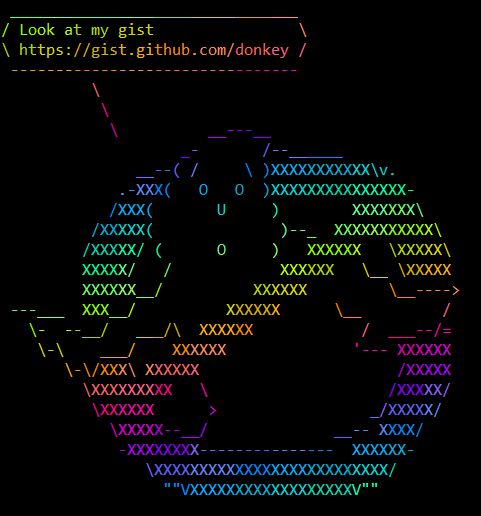
figlet -c Welcome | lolcat -v 2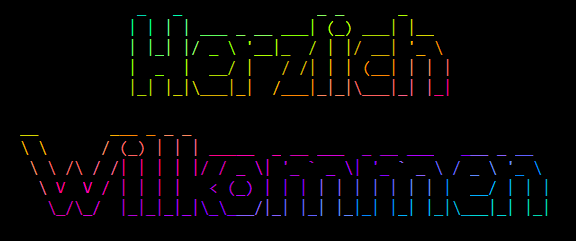
There are countless ways to use lolcat, here are just a few examples for illustrative purposes. How to decorate some useful system commands with lolcat here.
date | lolcat
dmesg | lolcat
last | lolcat
free -m | lolcat -v 10 -h 0
sudo du -h | lolcat
tree -s | lolcat -v 2
hostnamectl | lolcat -v 2
hexdump -C .bashrc | lolcat -v 10 -h 0
ip a | lolcat -v 10 -h 0
ip -4 a | lolcat -v 10 -h 0 && ip -6 a | lolcat -v 15 -h 0
route -n | lolcat -v 10 -h 0
sudo lsof -i | lolcat -v 20
The cowsay file list and the help page, as well as the fortune options.
cowsay -l
Cow files in /usr/share/cowsay:
beavis.zen blowfish bud-frogs bunny cheese cower default dragon dragon-and-cow elephant elephant-in-snake eyes flaming-sheep ghostbusters head-in hellokitty kiss kitty koala kosh luke-koala mech-and-cow meow milk moofasa moose mutilated sheep ren skeleton small stegosaurus stimpy supermilker surgery

cowsay -h
cow say,think' version 3.03, (c) 1999 Tony Monroe
Usage: cowsay [-bdgpstwy] [-h] [-e eyes] [-f cowfile]
        [-l] [-n] [-T tongue] [-W wrapcolumn] [message]
fortune[-afilosw] [-m pattern]f[-n number][ [#%]ile/directory/all]